HTML is one of the basic linchpins of making a website. Especially, the websites that are not particularly developed very recently, were once created with HTML. But now, WordPress becomes easier and more comfortable. So, many people often ask about how to convert HTML to WordPress theme.
Basically, there are different ways you can convert HTML templates to WordPress. To be more specific there are four different types and one of them is all about hiring a site conversion service. So, we are not going to talk about it and only focus on the three types that you can handle by yourself.
Why It Is Essential to Convert HTML to WordPress Theme?
Some of you can think that why should they need to convert HTML template to WordPress theme when they have their own static HTML site. Apparently, it’s not mandatory but there are a bunch of advantages of using the WordPress theme development services.
The very first one to consider the necessity of using WordPress theme instead of HTML is about its management functions. It’s quite easier to manage and you don’t need to learn a lot of coding to use WordPress.
Apparently, you need to use the WordPress theme If you want your site to be on top of SEO search engines. Besides, you will have to update your page so often and it is only easier to update your site when it is on WordPress. Sites with static HTML are quite different and time-consuming.
Another exciting facet of using the WordPress theme is its easy customizing option. You cannot possibly customize anything on your site just with an HTML setting. But WordPress will always let you enjoy easy customization with a few clicks only.
Now, the question is how to convert HTML to WordPress theme, right? Well, it’s easy and you won’t lose any data from the static HTML site. Eventually, the conversion will be all about transferring the existing data from the HTML site to the new WordPress theme.
Steps to Convert HTML to WordPress Theme Manually
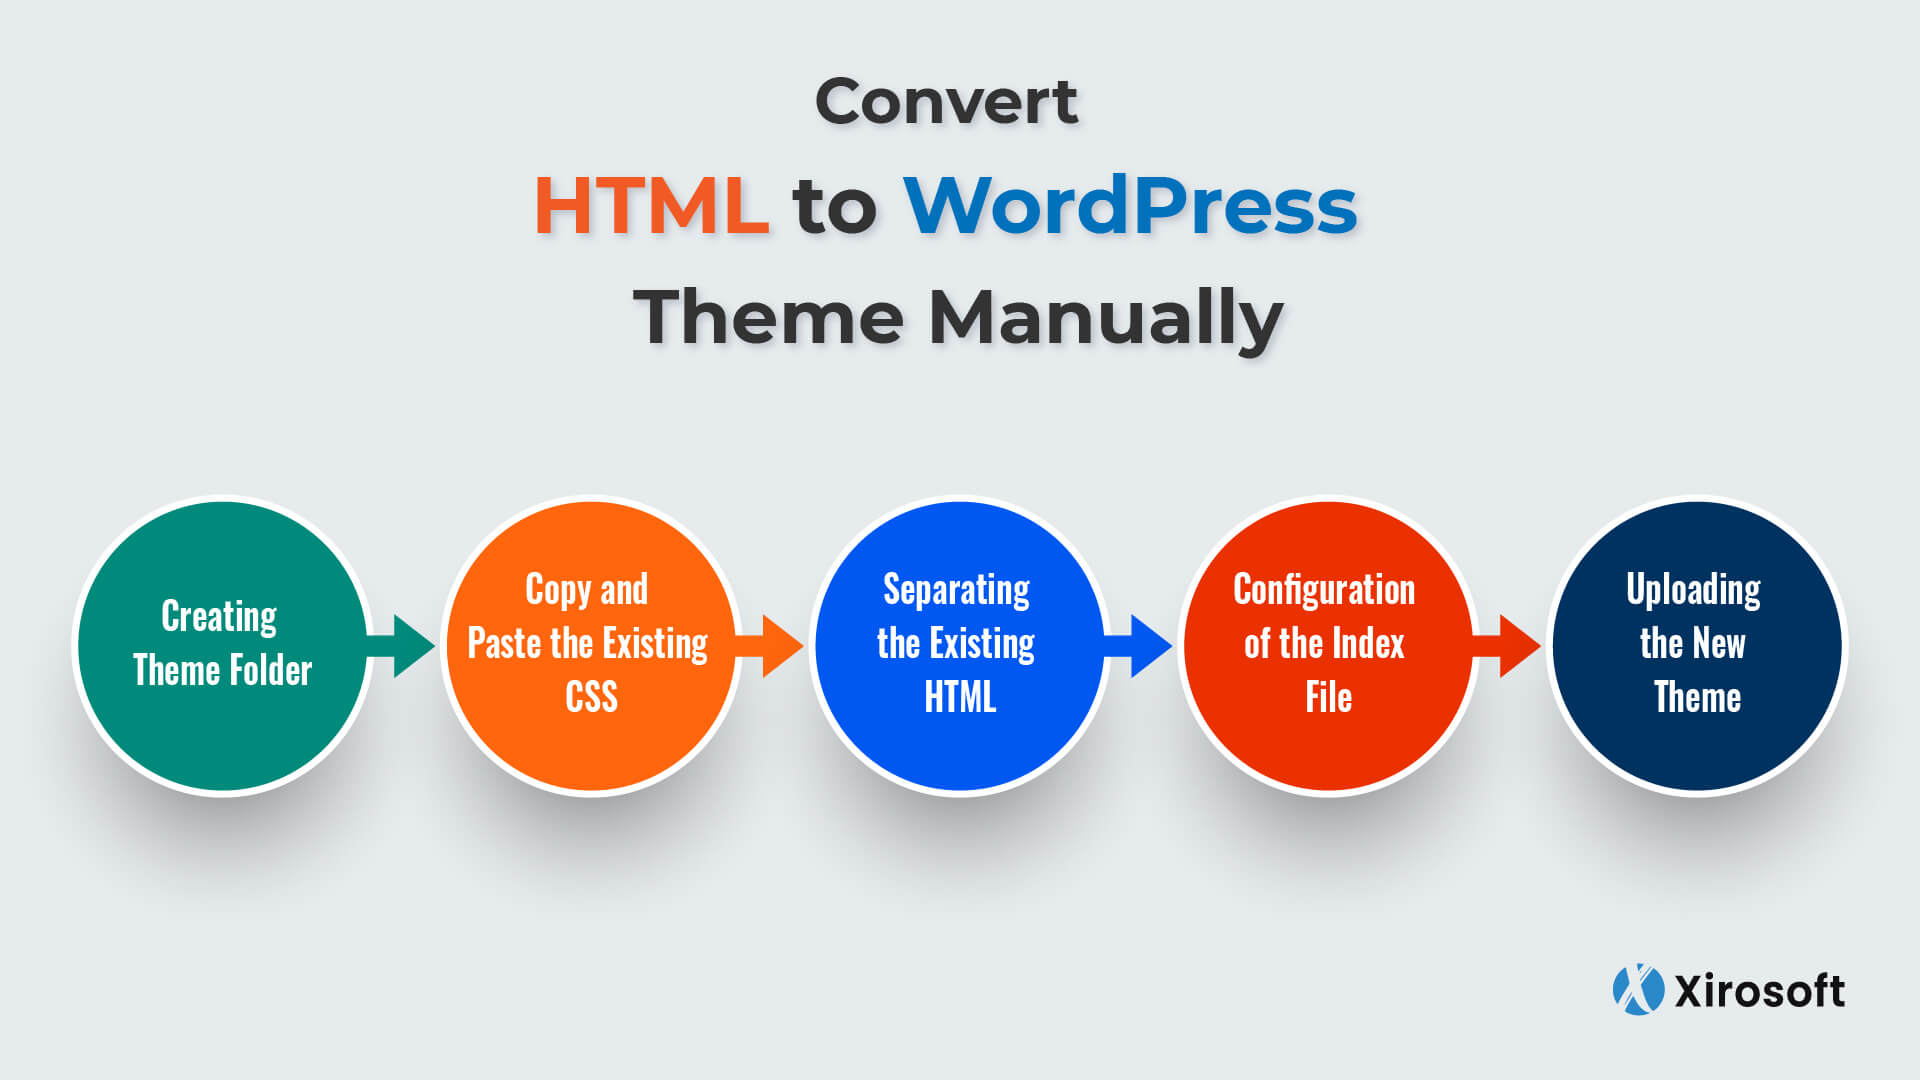 You can convert an HTML template to a WordPress theme manually. But this process is not recommended for all, especially those who are not properly familiar with lots of technological knowledge. That means this process is a little bit complicated. Let’s check out the steps of this manual conversation from the below details.
Step 1: Creating Theme Folder
Firstly, you have to create a new theme folder on your PC. It will simply work as the dictionary folder and you can keep it on your PC to create text files. Basically, you have to go to the code editor for that. And there are approximately five different files that you have to create. The files include style.css, index.php, header.php, footer.php, and sidebar.php.
Step 2: Copy and Paste the Existing CSS
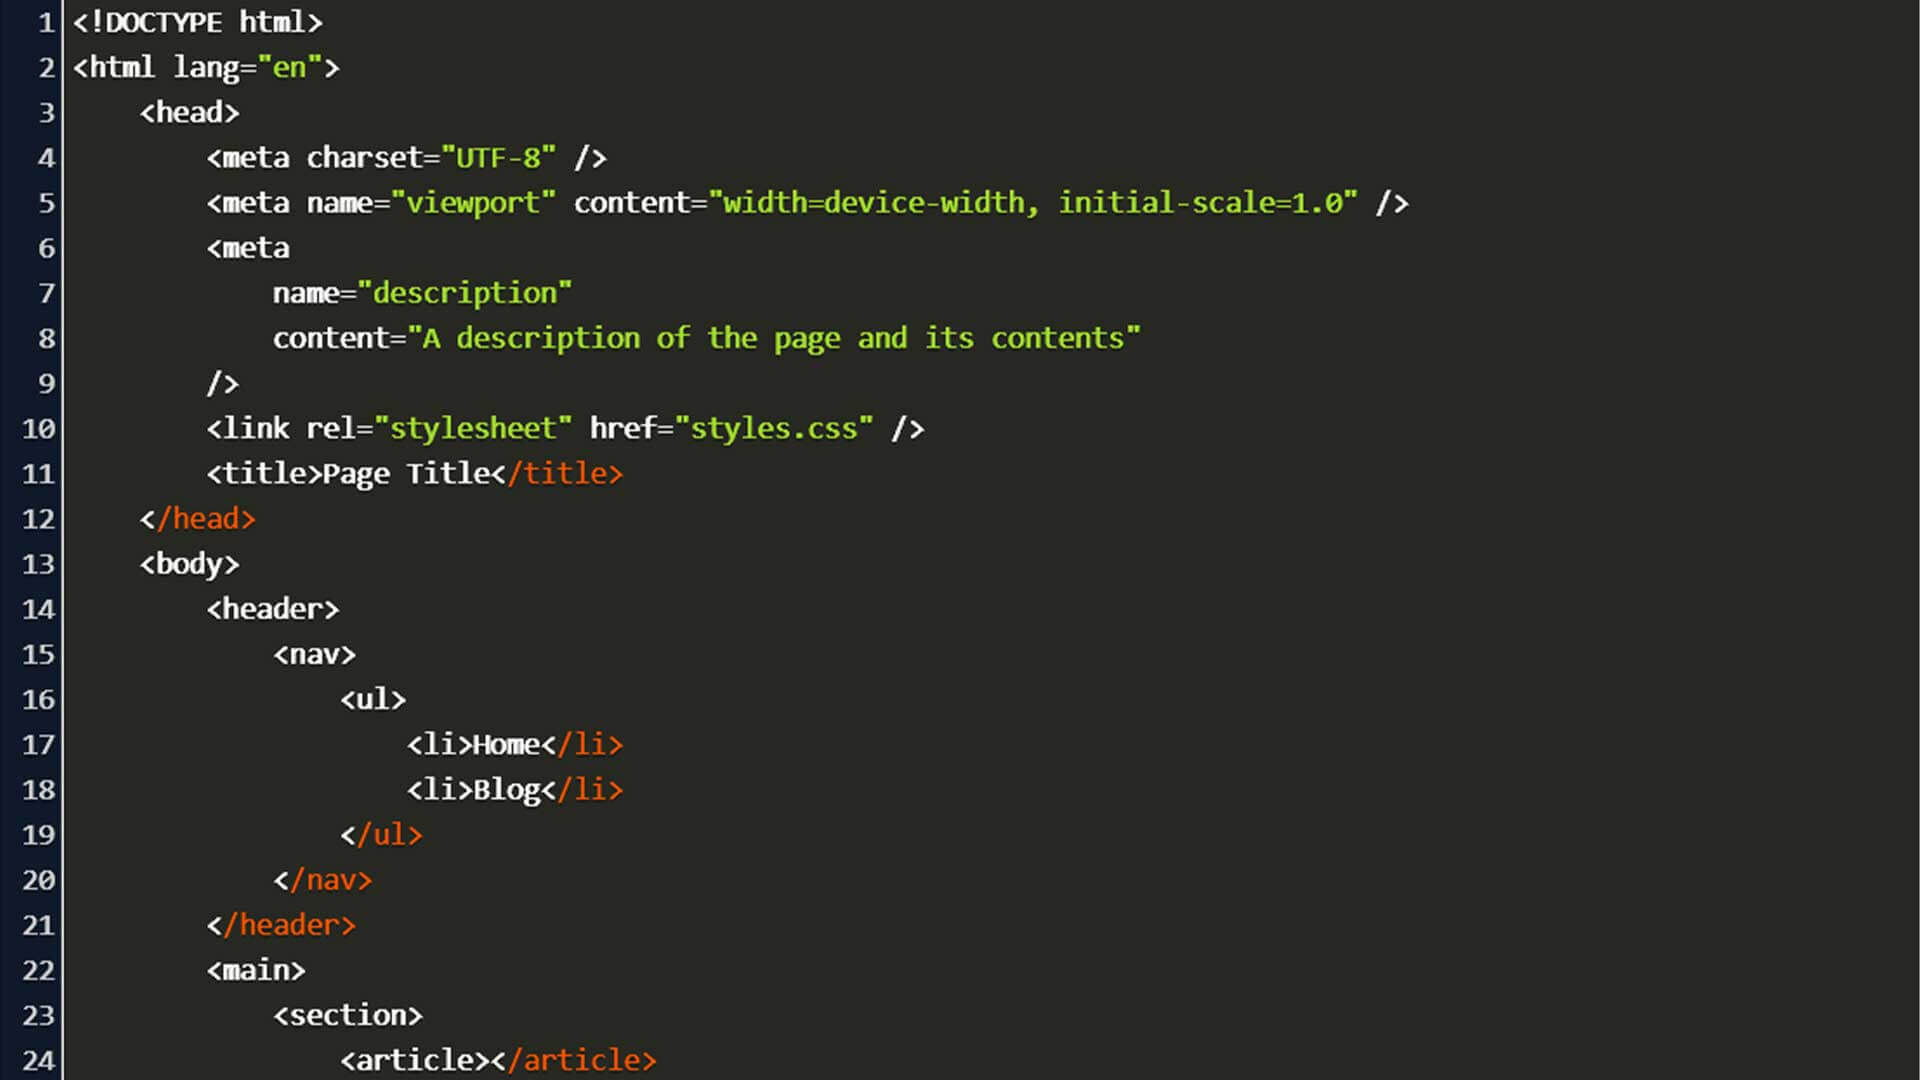
Secondly, you have to copy the CSS code from the previous website and then paste it on the WordPress style sheet. But first, you have to prepare the sheet that is actually the style.css file. On your new WordPress sheet, there will be different parts of the style sheet header. And you have to fill them all.
First, you have to change the theme name and then the theme URL. For all the content, you must have a place to add the author’s name. So, change it and then change the author’s URL. You can either keep a description of your site or avoid it. If you add it, the WordPress backend will expose it to visitors.
When to covert it, you have started it with version 1.0. With time and customization, the version will be updated. Lastly, you need to update the License, License URL, and the LicenseTags. But it is not necessary for all. You will need it only when you will submit the theme into the WordPress directory for others to use. Then you have to paste the code from the static HTML site into your new file. And then save it.
Step 3: Separating the Existing HTML
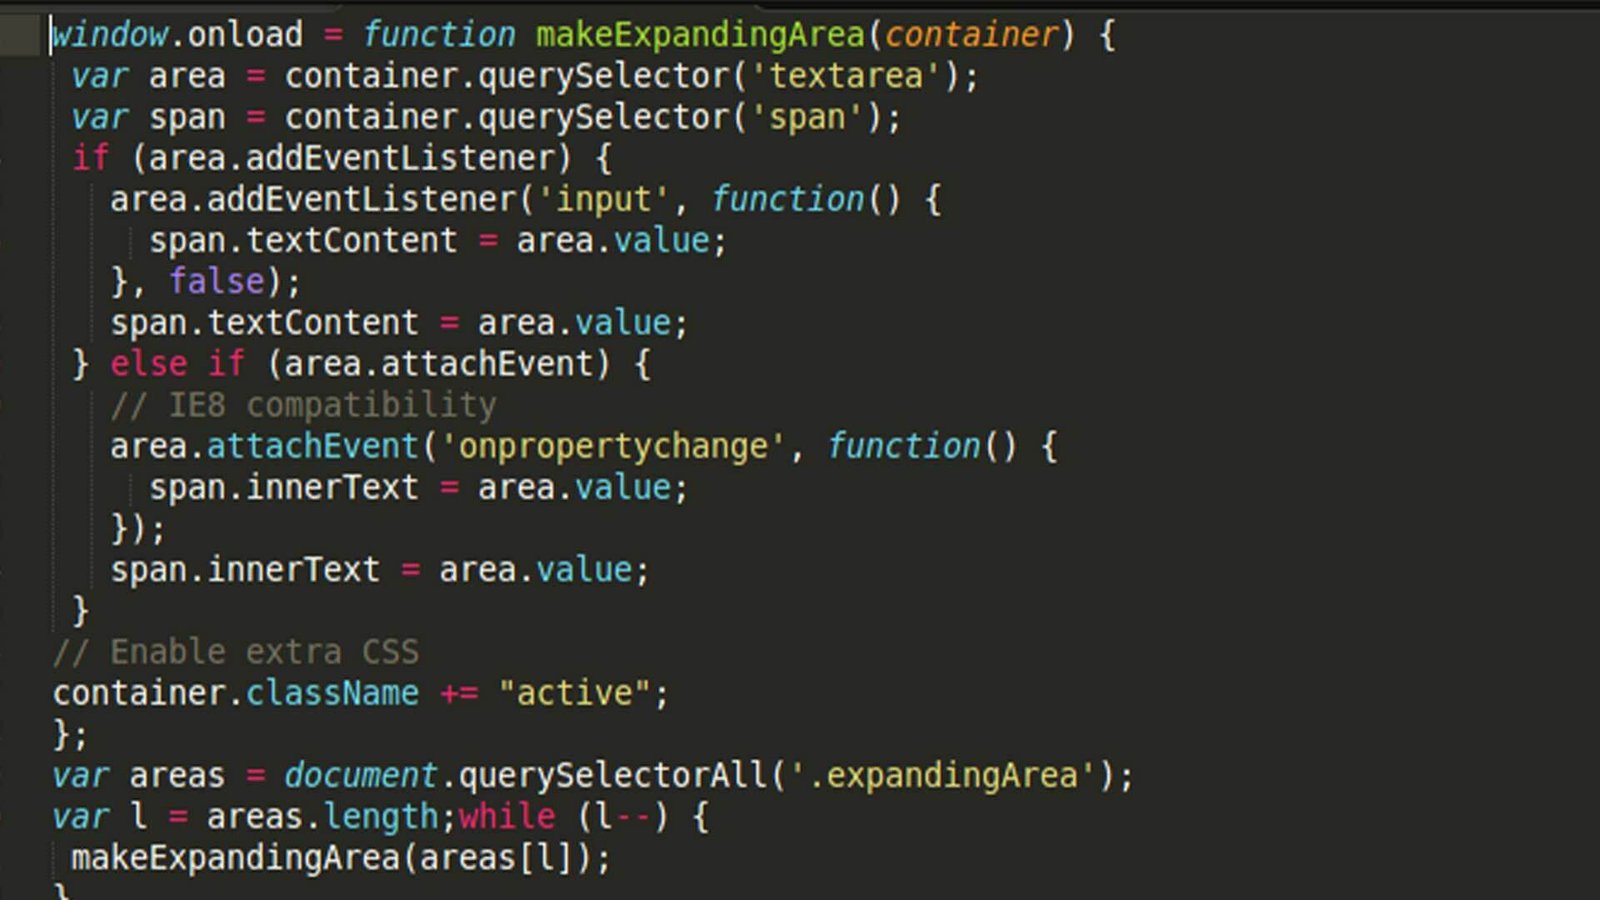
The next step is to separate the existing HTML finally. First, you have to copy the genuine document of the HTML from different PHP files. Then open the index.html file.
Secondly, after that, you have to visit the WordPress files that you have created. And then copy the code into some areas. Header.php is the place where you will get the head second in a marketplace. You have to copy the head section and paste <?php wp_head();?>
Sidebar.php is the second area that you have to visit. And here, you here, you have to put all the code from the section marked <aside> anyway. Footer.php files configuration is the next option to work on.
Basically, this section starts right where the previous one ends. Here, you have to add a call for <?php wp_footer();?> and make sure that you have closed it off the bracket with </body>. Now, you can close all the files except the first two ones. You have some work undone on these two files.
Step 4: Configuration of the Index File

In this part, you have to assure that the new index file is capable of locating other files and also enable the theme to the display. It will confirm that the theme contains a header, footer, and sidebars. You also have to use different tags to display the header files.
There is also another task to complete. The WordPress Loop is the snippet of PHP code. This code will confirm the template to pull in all the posts. You can also customize it or control the posts as well.
Step 5: Uploading the New Theme
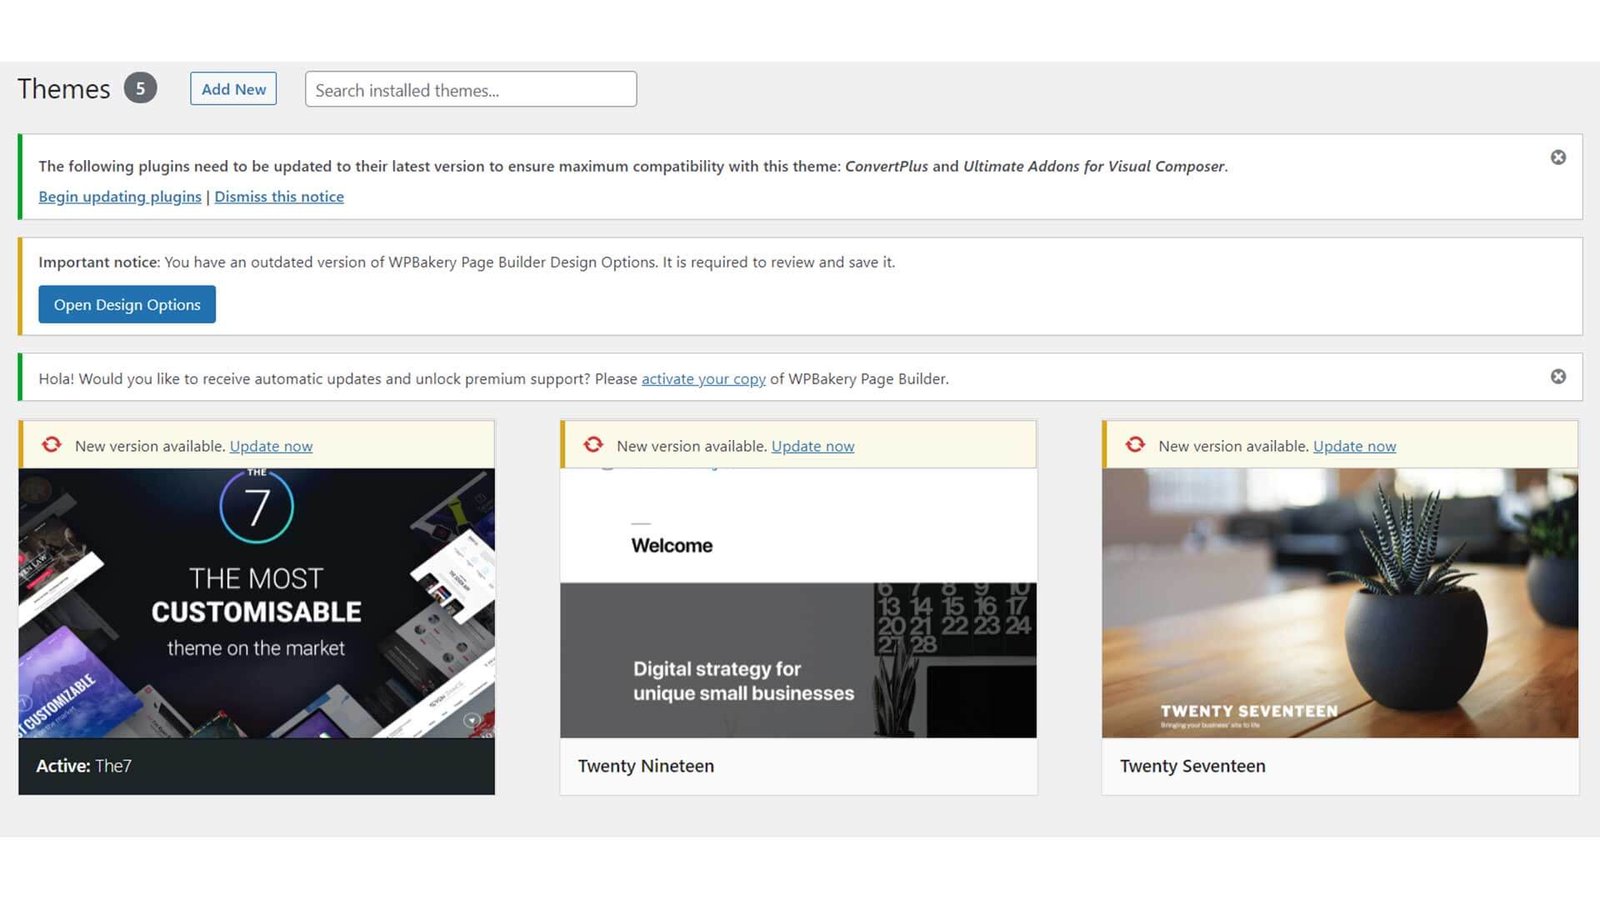
The final step is uploading the new theme. And it’s quite easy anyway. Here, the new theme is almost ready and you will have to place the theme on the folder into the wp-themes/content/ directory on your website. When you will upload the file, you can simply log into the dashboard of your new WordPress theme.
These are the steps you can follow to convert HTML template to WordPress successfully. Don’t you think that the process is pretty much complicated? If yes, just follow the next way to do it.
Converting HTML Using the Child Theme

Using a child theme is most probably considered the easiest way to convert an HTML template to a WordPress theme. Generally, WordPress comes with the child theme. And to have it on your HTML site, you have to follow the steps below.
Step 1: Theme Selection
First, you need to choose a theme for your site. There you will find a lot of themes that are pre-built for the users. You can choose the themes from the WordPress theme directory. You have to install your favourite theme and all its files will be available in your file directory automatically.
Step 2: Creating Child Theme Folder
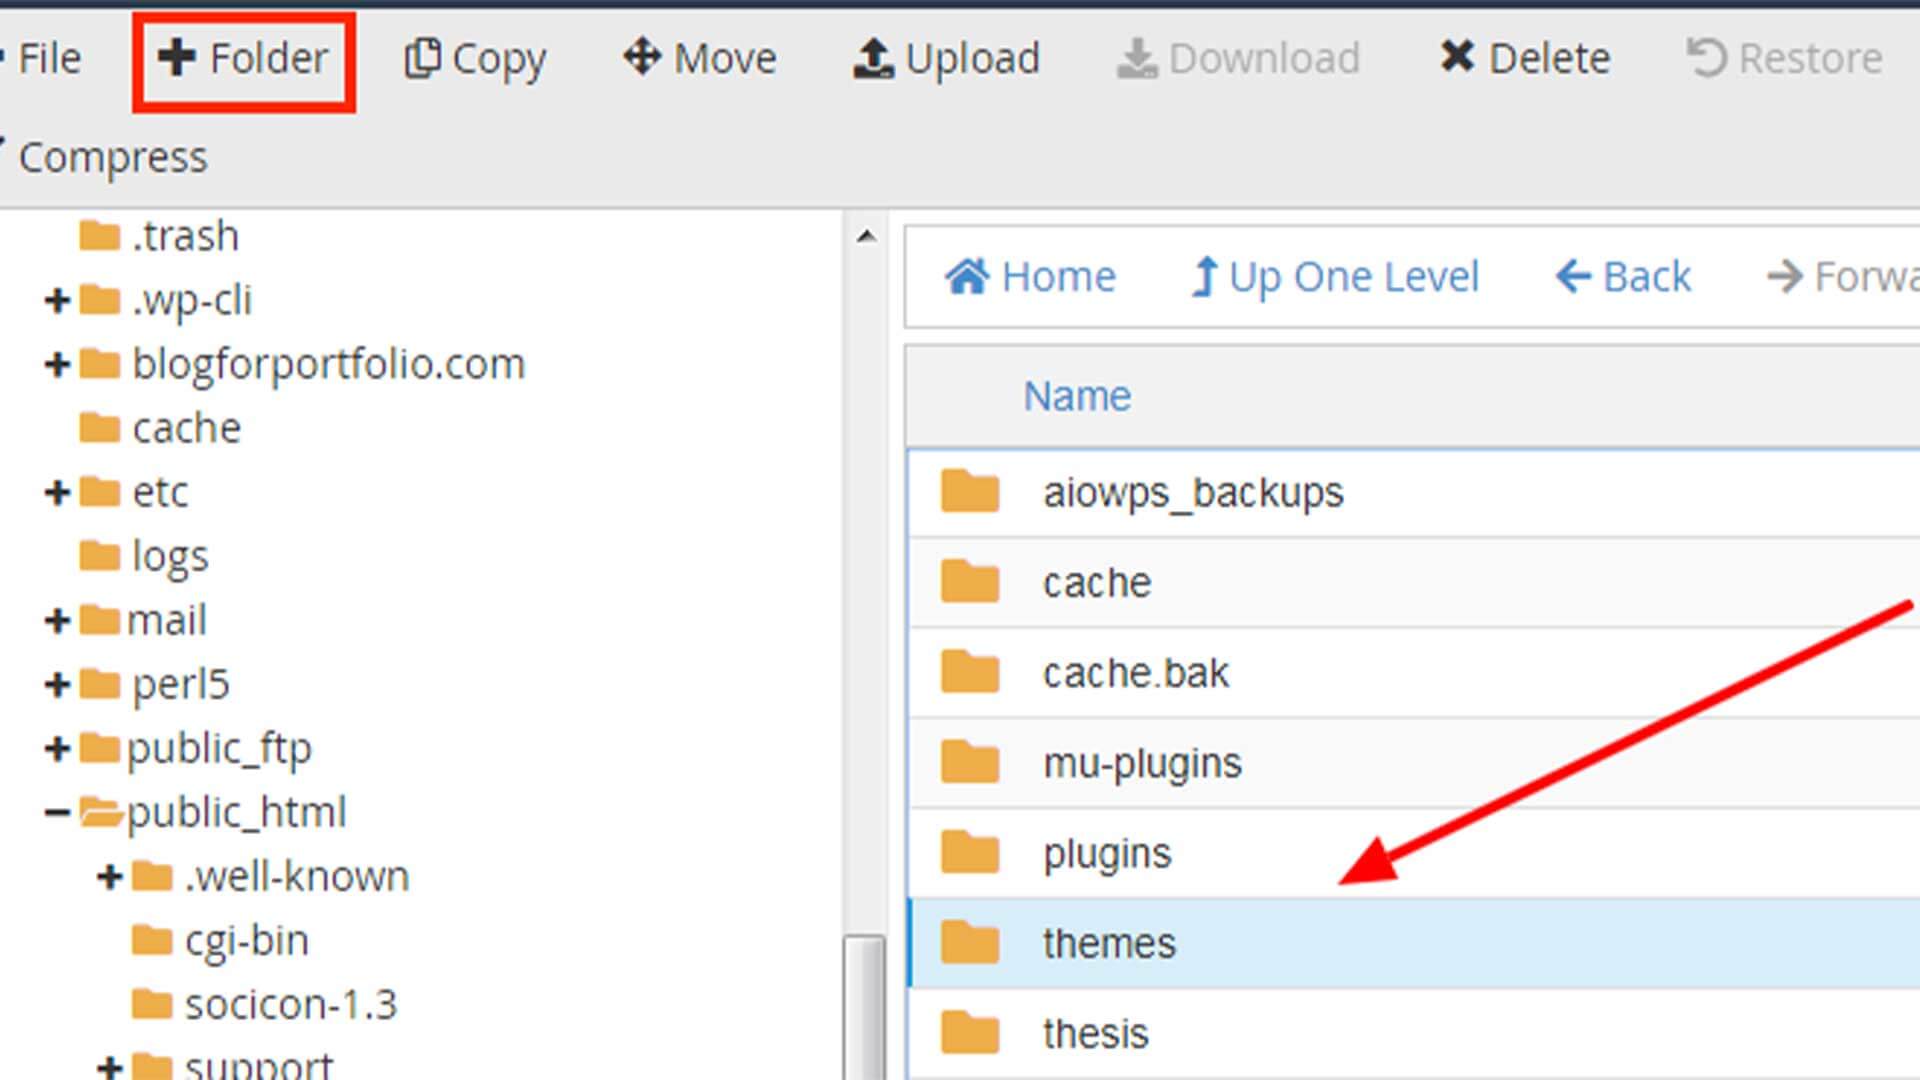
Now, you have to get access to your files. You can handle it with an FTP application while creating a new folder in the directory. And make sure to name this file the same as the parent theme. And don’t forget to add the wors child with it.
Step 3: Style Sheet Setup
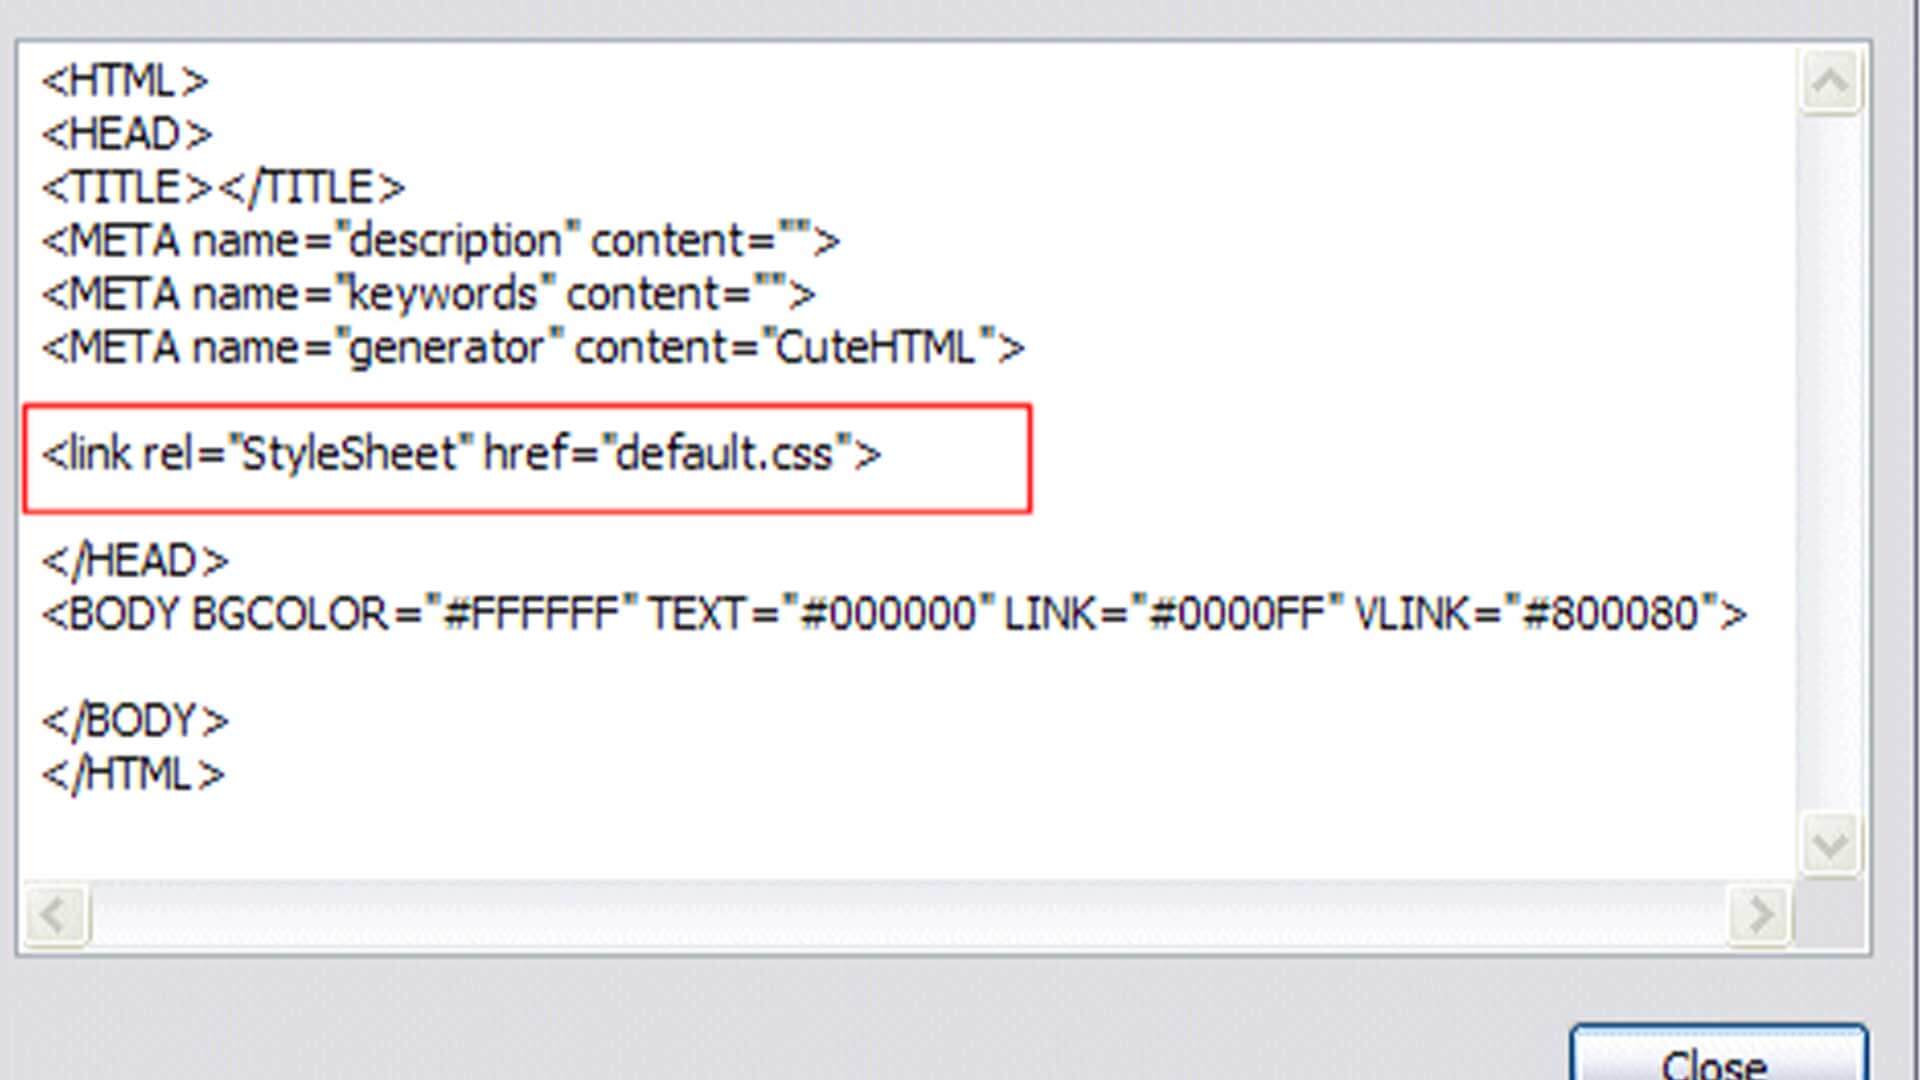
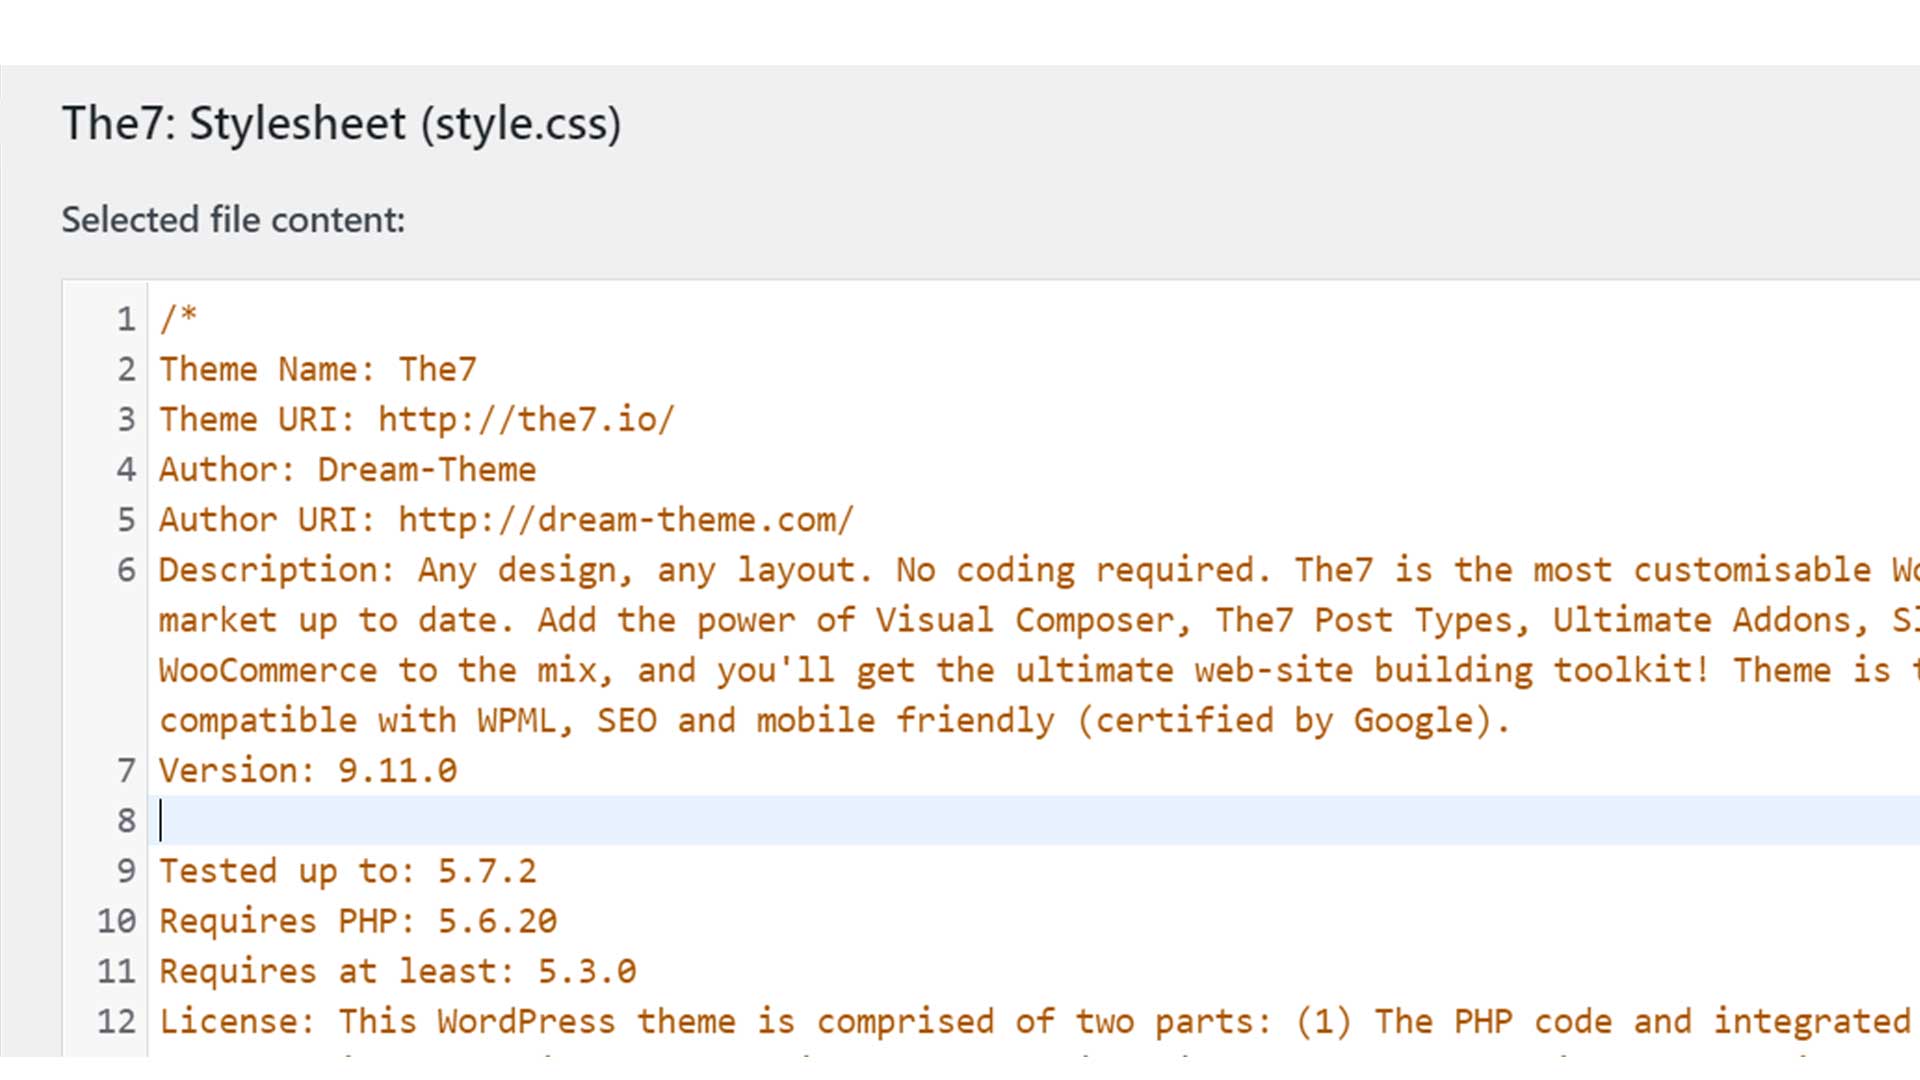
At this step, you have to set up the style.css file. Generally, WordPress needs particular information in the style sheet so that you can make the parent-child theme in a related way. Besides, you have to paste all the extra styling information collection from the old HTML files. But it is not mandatory completely.
Step 4: Functions.php Setup
Setting up the functions.php file is your task to follow at this moment. As you have two different themes, you have to work for both. You need to assure WordPress that you can use the WPB enqueue style PHP call. Then, you have to create the functions.php file.
Next after creating the file, you have to place it in the folder of your child’s theme. And this file lets you execute the enqueue function which will spell out the new build theme’s hierarchy.
Step 5: Child Theme Activation
And finally, you have to activate the child theme at this point. When to upload the new files to the website server, you have to head back to the WordPress dashboard. Here, you have to navigate to the appearance of the theme.
Apparently, you have to see whether or not the child theme is ready to work. You must get an option called Activate just on the child theme. And you have to set it as the main theme of your website. Next, you have to copy the HTML website content on your new site.
Don’t you think that this way of HTML to WordPress theme conversion? If yes, you can try this. But if you are still not okay with the process, we have another way to recommend it. Let’s check it out.
Read More: How To Export Adobe Xd To HTML
Use Plugin to Import Content from HTML to WordPress
Only if you are planning to change the design of your website, we will suggest following this process. To get a new look while converting HTML templates to WordPress themes, this process will help you anyway. The following guide will expose exactly what to do to import HTML to WordPress themes using plugins.
Step 1: New Site Setup
Firstly, you have to set up your new site. Install your preferred WordPress theme and assure that all its features and templates are of your choice. You can make some necessary customization to change the appearance of the site.
Step 2: Plugin Installation
Next, you have to install the plugin that you will use to convert the HTML template to a WordPress theme. For that, HTML Import 2 is the best plugin and you have to find it from the search bar. Now, install it.
Step 3: Uploading New page
Finally, it’s time to upload the new page on the site. When the plugin is installed and ready to work you have to upload all the new pages to the same server. And on the files tab, you need to enter some information.
First, you have to copy the existing HTML code from the directory. Then, you have to enter the old URL of the site for redirect purposes. Next, you need to put the file extension and make it ready to import.
Whatever you have on the old site that you don’t want to carry to the new site, you need to exclude them instantly. Then, the plugin will start automatically using the file names as the new URL of your site. After that, you have to check the content tab to configure the HTML tag as well.
So, this is how easy to convert HTML to a WordPress theme using a plugin. It is possible to do it by yourself and so, there’s no need to hire someone expert.
To Conclude
As you have learned the way to convert HTML to WordPress theme, there’s no need to bear the hassles on the old static HTML site. WordPress is now easy to customize, update, and even use. So, just take a deep breath and start converting it by yourself.
Also, inform us exactly which one you are trying and how it works. We will wait for your response.


