Among its competitors, Adobe XD is the design tool that leaves you with a clean, ready-to-use website when you export your design to HTML. If you are one of the many people who are wondering how to export Adobe XD to HTML, you have come to the right place at the right time. Because we are here to solely discuss all the different methods regarding this subject in our later sections.
So, keep reading!
Benefits Of Adobe Xd To HTML Exportation

But first, for those who are only recently getting to know about Adobe XD, let’s look at the benefits of exporting Adobe XD to HTML to truly understand its potential.
● Pixel precision and neat W3C validated code
To be pixel-precise means creating a design where each pixel is used to its full potential. This prevents any aberrations that may occur along with the design to HTML export process. Also, exporting design files from Adobe XD to HTML gives you a neat code that is W3C validated. It means that your code will literally be flawless.
● Cross-Browser and plug-in support
Adobe XD to HTML export makes your website cross-browser ready. So you can target a wider range of users as well as provide a good user experience with your design. Moreover, it also allows you leeway to add external plugins, so that your site is truly enriched.
● Semantic Markup
Exporting Adobe XD to HTML gives you semantic markup. In easy words, this means that the elements in your code will be separate from the visual elements you have in your design. The benefit of this is that search engines and screen readers etc can easily understand the value of your web content.
● Easy To Integrate With Any CMS
Being able to easily integrate your code with any content management system (CMS), is a huge plus. It saves you precious time that you can spend doing more productive things. And, it also costs you less money to develop and maintain.
● Responsive Websites and speedy loading
XD to HTML websites are fully responsive from start to finish. This means that you only need to create a single code for any computer or mobile device. Your site will automatically fit any screen size while keeping your content and design proportions correct. Also, your code will be lightweight, which means that your site will load speedily.
● SASS and Photoshop-compatible
Syntactically Awesome Style Sheets (SASS) is a scripting language that can be integrated with CSS to make your design elements more organized in terms of code. XD to HTML files are compatible with SASS and also with Photoshop. It means that you can easily import/export Photoshop elements into your design.
3 Methods of Exporting Adobe XD to HTML
Now that we have discussed the benefits of exporting XD to HTML. Moving forward to the spotlight topic of our discussion today, we will look at three very efficient methods for learning how to export Adobe XD to HTML, as listed below.
- Using plugins that are compatible with exporting XD files
- Manual method using HTML and CSS coding
- Adobe XD to HTML extraction services
1. Using plugins that are compatible with exporting XD files
First and foremost, we have a method that’s more on the automatic side rather than manual. The main aim of this method is to use plug-ins that act as extensions, to export Adobe XD to HTML. It is especially useful for people who want to do it themselves without coding the whole thing.
The exact procedure can differ from plug-in to plug-in. But we will attempt to give you a basic overview of the method below.
Step 1: Look for a plug-in to export XD to HTML and install
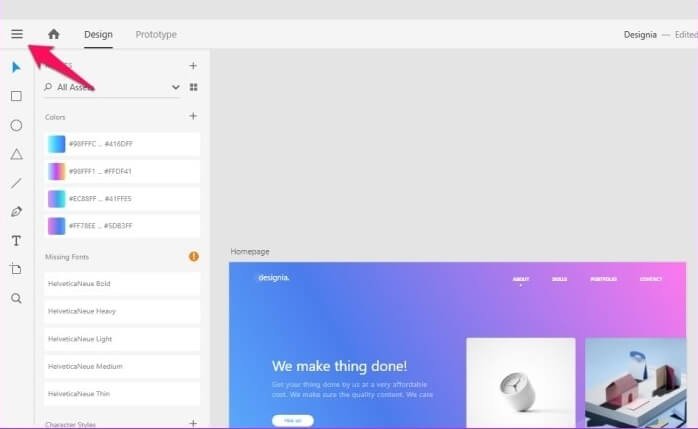
Your first task is to research plug-ins that can meet your needs for Adobe XD to HTML export and install them. But make sure that they are Adobe compatible. Some popular plug-ins that we can suggest are — Anima, Web Export, Fireblade, etc.
Step 2: Select the artboards you want to export
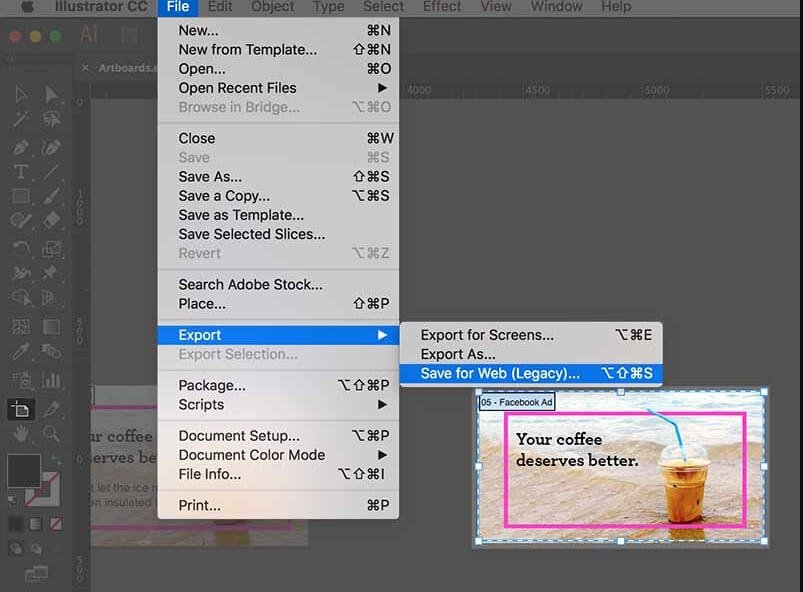
Maybe you wish to upload a single artboard, or maybe you wish to upload multiple artboards. No matter which selection you make, the purpose of picking your artboards first is to ensure that you do not end up exporting the wrong artboard accidentally. It will mess up your work as well as waste your time.
Step 3: Go to plug-in panel and select Export Artboards
Once you have picked your artboards, you can go to your plug-in panel next. There you should come across an “Export Artboard” option through which you can make a call and save the artboards you selected within an export folder of your choice.
Step 4: Upload external scripts, stylesheets, and fonts
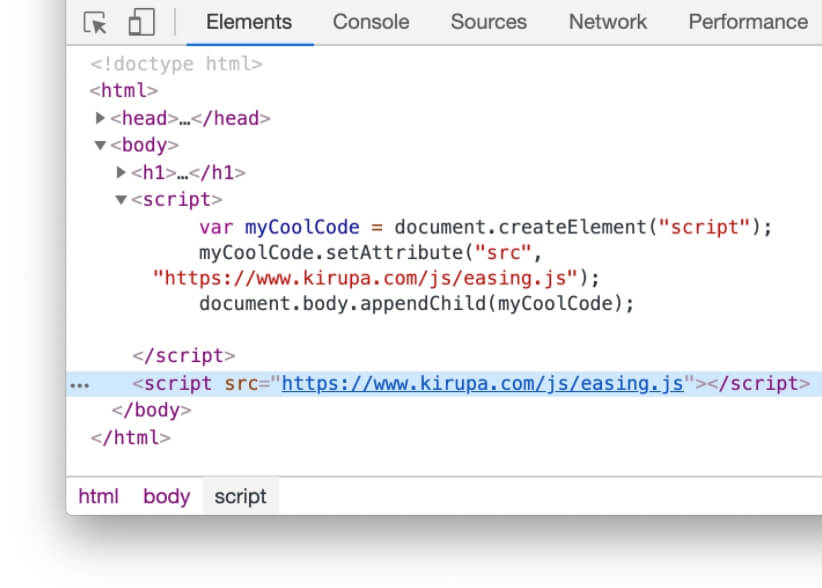
Next, you can upload your external scripts or style sheets and fonts to further customize your code in the same window you created with your selected artboards. If you do not wish to upload anything extra, this step is optional for you.
Step 5: Choose your dimensions
Then you have to choose the dimensions in which you want to present your website. You can add a single dimension or multiple alternative dimensions to successfully display your website in the proportions you desire.
Step 6: Export and test your results
Lastly, select “Export” to convert your Adobe Xd design into HTML code. And, as a precaution to see if everything is in shape, test your rest using different browsers, tools, or devices. And you’re done!
2. Manual method using HTML and CSS coding
Next up we would like to introduce you to the manual way of Adobe XD to HTML conversion. It involves using both HTML and CSS coding. But before we start, you must have the coding knowledge to execute this method. If not, we suggest you move on to the next section or try out the previous method.
Step 1: Make separate files to store your codes and content

To begin, create separate files on your computer for storing your images, fonts, written content, Adobe XD design, HTML and CSS codes. These files will, later on, become your source links that will be connected to your website in both front-end and back-end aspects.
Step 2: Write your HTML code and insert source links
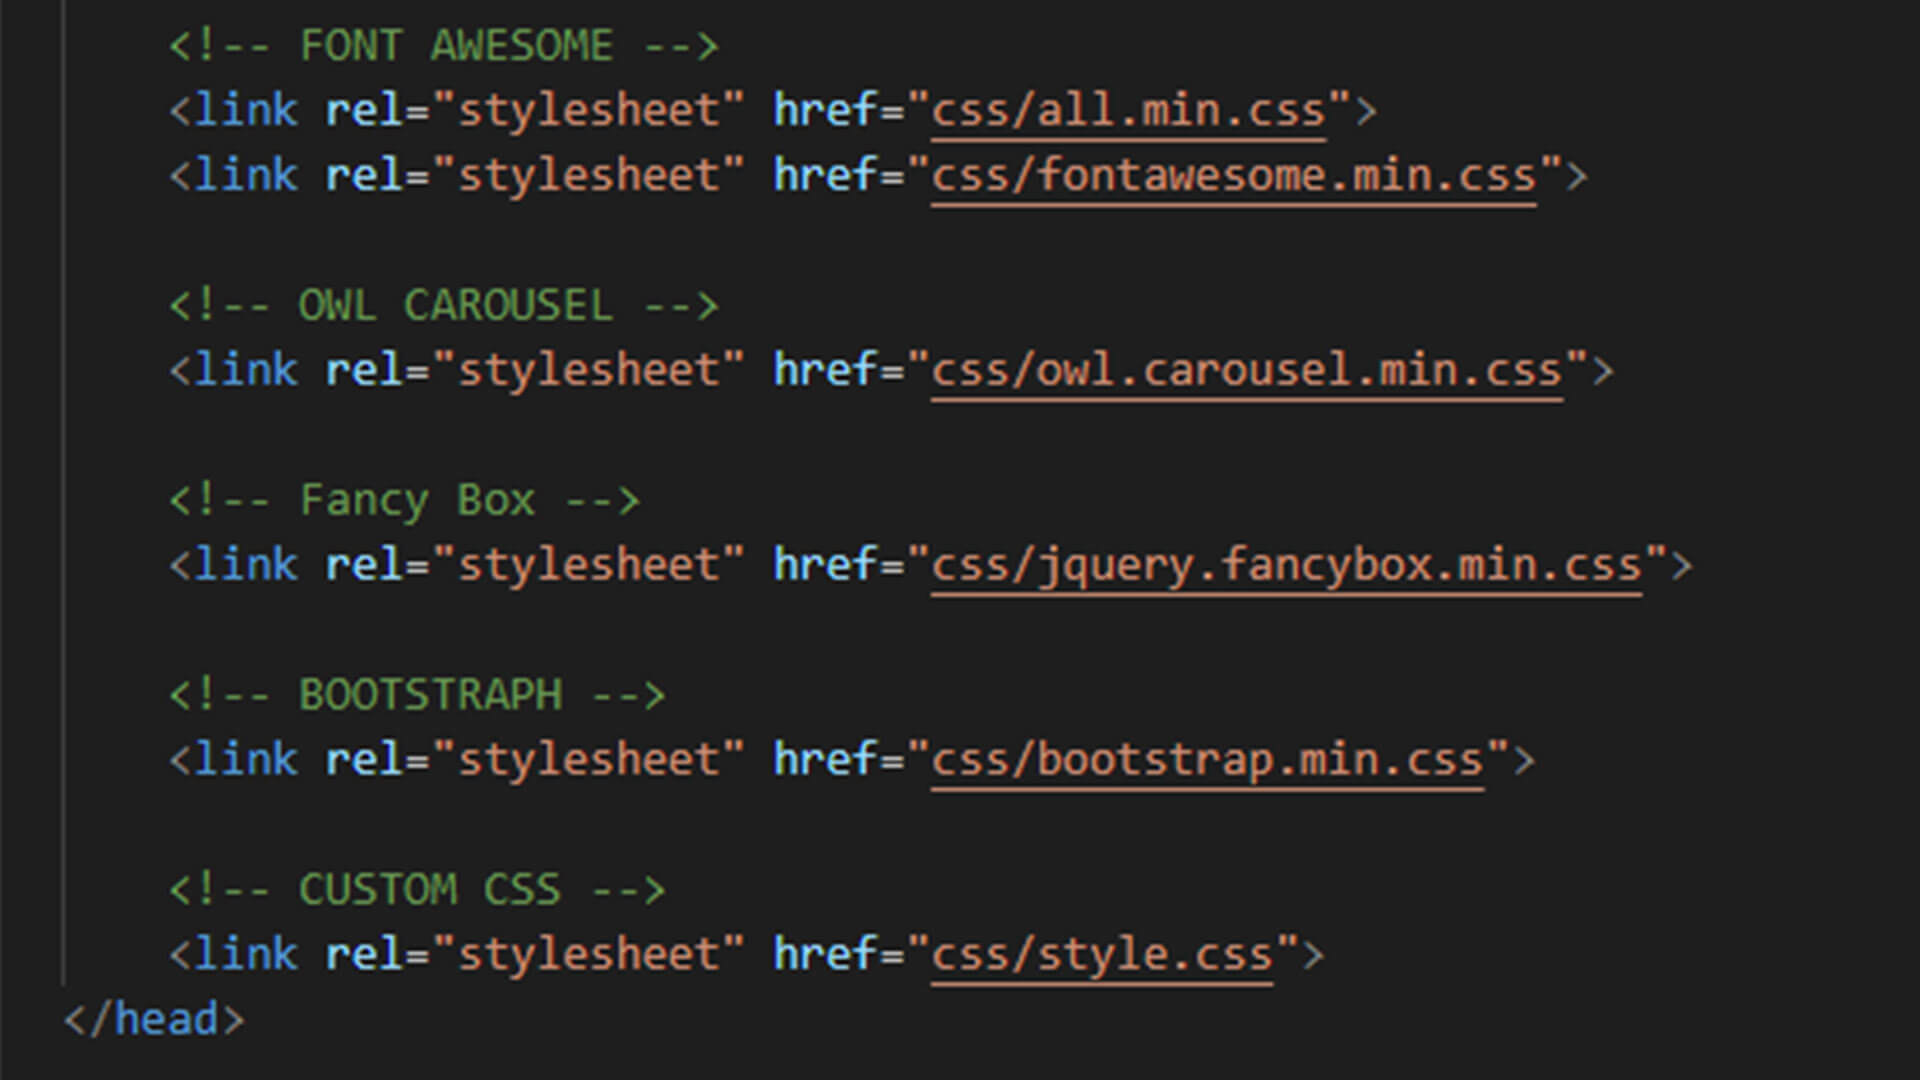
The next step is to obviously write your HTML code and insert the source links using the files that you made in Step 1. Your coding knowledge comes into play here. So, make sure you are prepared for it.
Step 3: Style your website using CSS and test your code
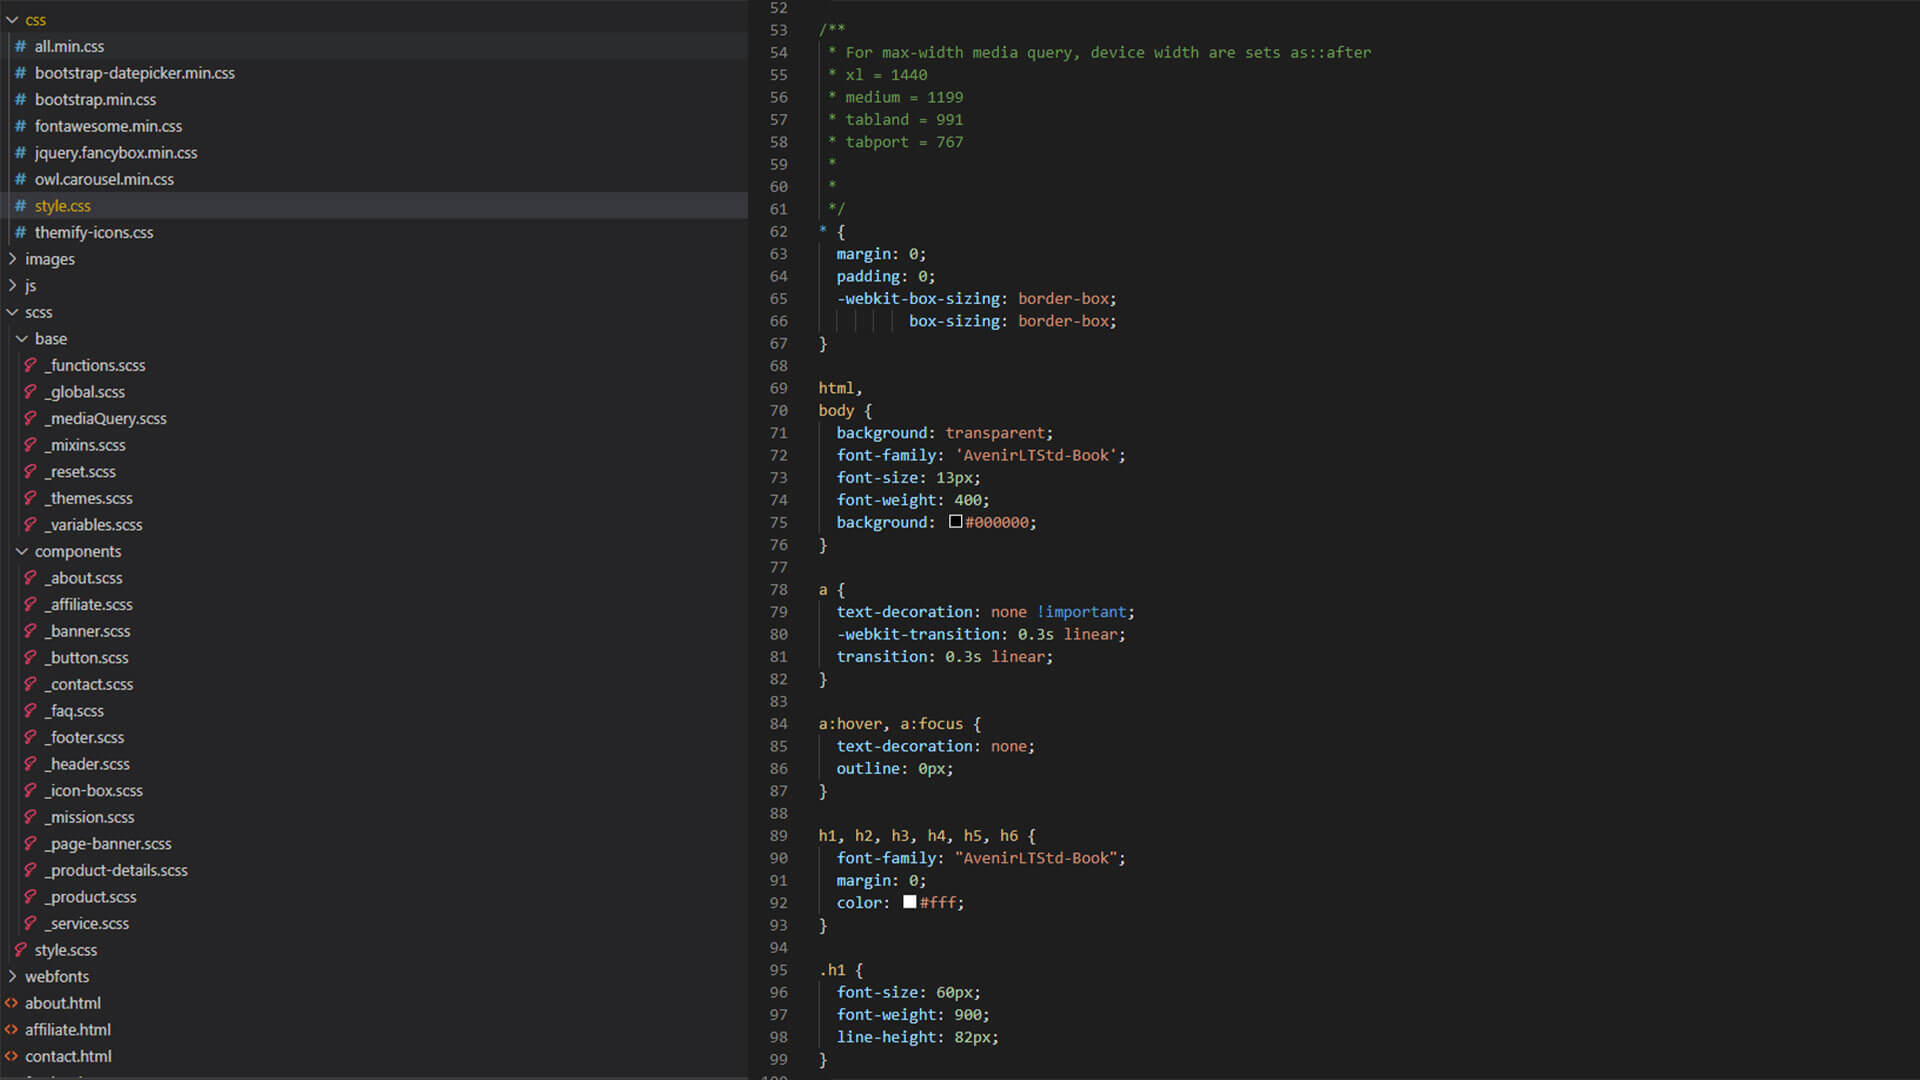
Now, even though your code will create a responsive website, to make sure that the dimensions of all your visual elements are correct, you need to further stylize your website using CSS. Once done, test your file exportation results using different browsers, devices, and tools. That’s it!
3. Adobe XD to HTML export services
The last and easiest way is to invest in XD to HTML services. Sure, you’ll have to spend some money on choosing this route, but what’s better than getting it done by expert hands! It’ll even take a lot less time than doing it manually.
There are several services available on the internet for you to choose from. It is a wise choice for most businesses or working individuals who would rather focus on their work than take the time to export XD to HTML.
The average price for such services can range anywhere from $10 to $60 or more. It depends on the amount of work that has to be done, the kind of design that you are converting, the number of pages you have in your design, and if you want responsiveness or not, server upload, etc.
Most XD to HTML services take up to 2 to 3 workdays. It once again depends on the kind of work you need to get done. Nonetheless, it is the most efficient method out of the three we discussed in total.
Read More: Latest Web Development Trends To Follow In 2021
Why use Adobe XD instead of Photoshop or Sketch?
Now that we have discussed the methods for closing the curtains on our article, let’s look at some features that make Adobe XD more preferable over Photoshop or Sketch to HTML conversion.
● Lightweight
A major plus of using Adobe XD is that it is very lightweight. So, it takes up a lot less cloud space and hence allows your website to run smoothly and easily in comparison to when you export a design from Adobe Photoshop or Sketch.
● Dedicated especially for web/app design
Adobe XD is an application that is solely dedicated to creating the best web or application designs with ease. The XD application is integrated with high-end design tools and user-friendly features. As a result, it’s easy to use due to its minimalist and flexible user interface.
● Easy-to-create prototypes
Also, making design prototypes is easier and faster when you are using Adobe XD. You no longer need to hire a costly developer to create a prototype of your web design. You can easily do this yourself in a matter of hours.
So that was all for our article today. We hope to have been able to help you and be informative enough.
Good luck exporting your files! That’s all.
