Back in the day, websites were designed with PSD, which was tougher to handle. So, the developers look forward to ways to make things easier. Once HTML is developed, it brings a bigger scope for the PSD-based site developers to simplify the system. That’s why old sites need to convert PSD to HTML5 very often.
Generally, there are lots of benefits of PSD to responsive HTML. But the process has a few pre-handled etiquettes and a comparatively complicated process. Still, we find out the easiest way to do that and try our best to expose the easy steps with almost all essential details. Hopefully, it will come as an alternative of PSD to HTML conversion service.
What is ‘PSD to HTML’?
Generally, ‘PSD to HTML’ is a term of workflow that is very popular in the website building prospect. Here, PSD stands for Photoshop Documents, and HTML is for HyperText Markup Language. However, a webpage is first designed with the PSD and often needs to convert to HTML. And this process is over shortly called ‘PSD to HTML.’
You will need to convert PSD to HTML for different reasons, and we’ll learn it right in the next sector. Basically, converting PSD to HTML is not a very much taught process. You can eventually handle it by yourself. But if you wish, you can also enjoy lots of PSD to HTML conversion services from different web developers as well. But that’s not the point for today. And we will learn about the process of doing it on our own and some other stuff about the same fact.
Why Is It Necessary to Convert PSD to HTML?
To make a website, you need to handle a lot of things and use them to develop your site. The PSD to HTML conversion is also like that. You will need it to make your website, and it has particular benefits as well. Nowadays, many companies are using the conversation for the team workflow template.
Out of that, there are two basic needs of converting PSD to HTML. Image assets are generally the first and the main reason for it. Initially, it was very difficult to create CSS, including rounded corners, gradients, drop shadows, etc, when the browsers didn’t support all its modern features.
That time, we had to create shadows and all other things for the images, and then we got the codings that we could use to place the imagery on our page. However, the image assets must be the essential factor, and we need to create them by any means.
So, the CSS features made it easier to create the image assets. Besides the image assets, the second reason to convert the PSD to HTML is making it smartphone or tablet responsive. One can say it’s not necessarily important, but the fact is different. Most people nowadays use their smartphones and tablet so often, and that makes it essential.
Basically, the websites weren’t used to be looked cool on smartphones and tablets like nowadays. But now, HTML has made the site and the images look perfect on smartphones and tablets. Without this conversion, it is partly impossible to make your site completely compatible with smartphones and tablets.
Also, it is not easy to get a pixel-perfect conversation just with the PSD files that you can get using hand-code interaction. For that, you must need the HTML file of it. You will indeed need the conversion to build a business website on Squarespace or a basic Shopify-based eCommerce store.
Things to Complete Before Converting PSD to HTML
There are some basic etiquettes that you need to handle before starting converting PSD to HTML. The very first thing you need is some of the essential front-end development tools. You will need basic tools to include Adobe Photoshop, Avocode, PNG hut, CSD hut, Sublime text, and CSSp3.
Next, you need to make sure of the use of the front-end development framework. It is in high demand for web builders and developers. It’s because the framework makes development quicker and, of course, easier. For that, you don’t even need to start your work from scratch. However, it would help if you also remembered not to use the same framework for all projects.
The most-used framework for backend coding includes PHP and Ruby. On the other side, the front-end mainly focus on HTML, CSS, and JavaScript framework. Alongside different frameworks, you need to ensure using different layout types for PSD to HTML conversion.
A responsive design is the very first layout to confirm. It has to be used as the core of almost all the websites and apps that basically cater to other devices. Some apps only work on PC, and you also need to fix them to make them mobile device compatible.
You will also get some fixed layouts that look good for PC. They are essential to fit the page to the screen size. Fluid design is another essential layout for sure as it helps to fit with the smaller screen only. However, a website design has a few basic components to analyze before you start the conversion.
Read More: How to Upload HTML Verification File to WordPress
How to Convert PSD to HTML (Easy Steps)
Now, it’s time to get to the point straight. Well, we have divided the whole process of the conversion into a few easy steps. It will help you understand the process thoroughly, and you will make it by yourself following steps one after another.
Step 1: Break the PSD into parts
Converting the complete PSD files at once is quite time-consuming and difficult. It also causes a longer page loading time as well. Indeed, it would be best if you broke it into pieces so that you can convert small file pieces easily. Additionally, when you have small pieces of PSD files, you will have faster page loading with them.
You can use different file slicing tools in Photoshop to break the PSD image into pieces. Normal, Fixed aspect ratio, Fix size, and Slices from guides are the most-used image slicing options. And you can use any of them. When you use them to slice the images, you will get every single slice and save them separately. You can simply save them under the ‘save for the web’ menu.
Step 2: Generate Directories
Once you have all the sliced images ready, you need to generate the directories. It is essential if you want to manage the data in an organized way. You can simply create the three basic directories easily.
- The main folder is named your website.
- A folder named ‘images in the main folder that you named on your site. It is for storing all the images you will add in the future.
- Lastly, another folder called ‘styles’ for the style sheets or the CSS files in the main folder.
These are the 3 main directories you need to create. Each of them contains particular purposes, and so, they all are essential.
Step 3: Create HTML

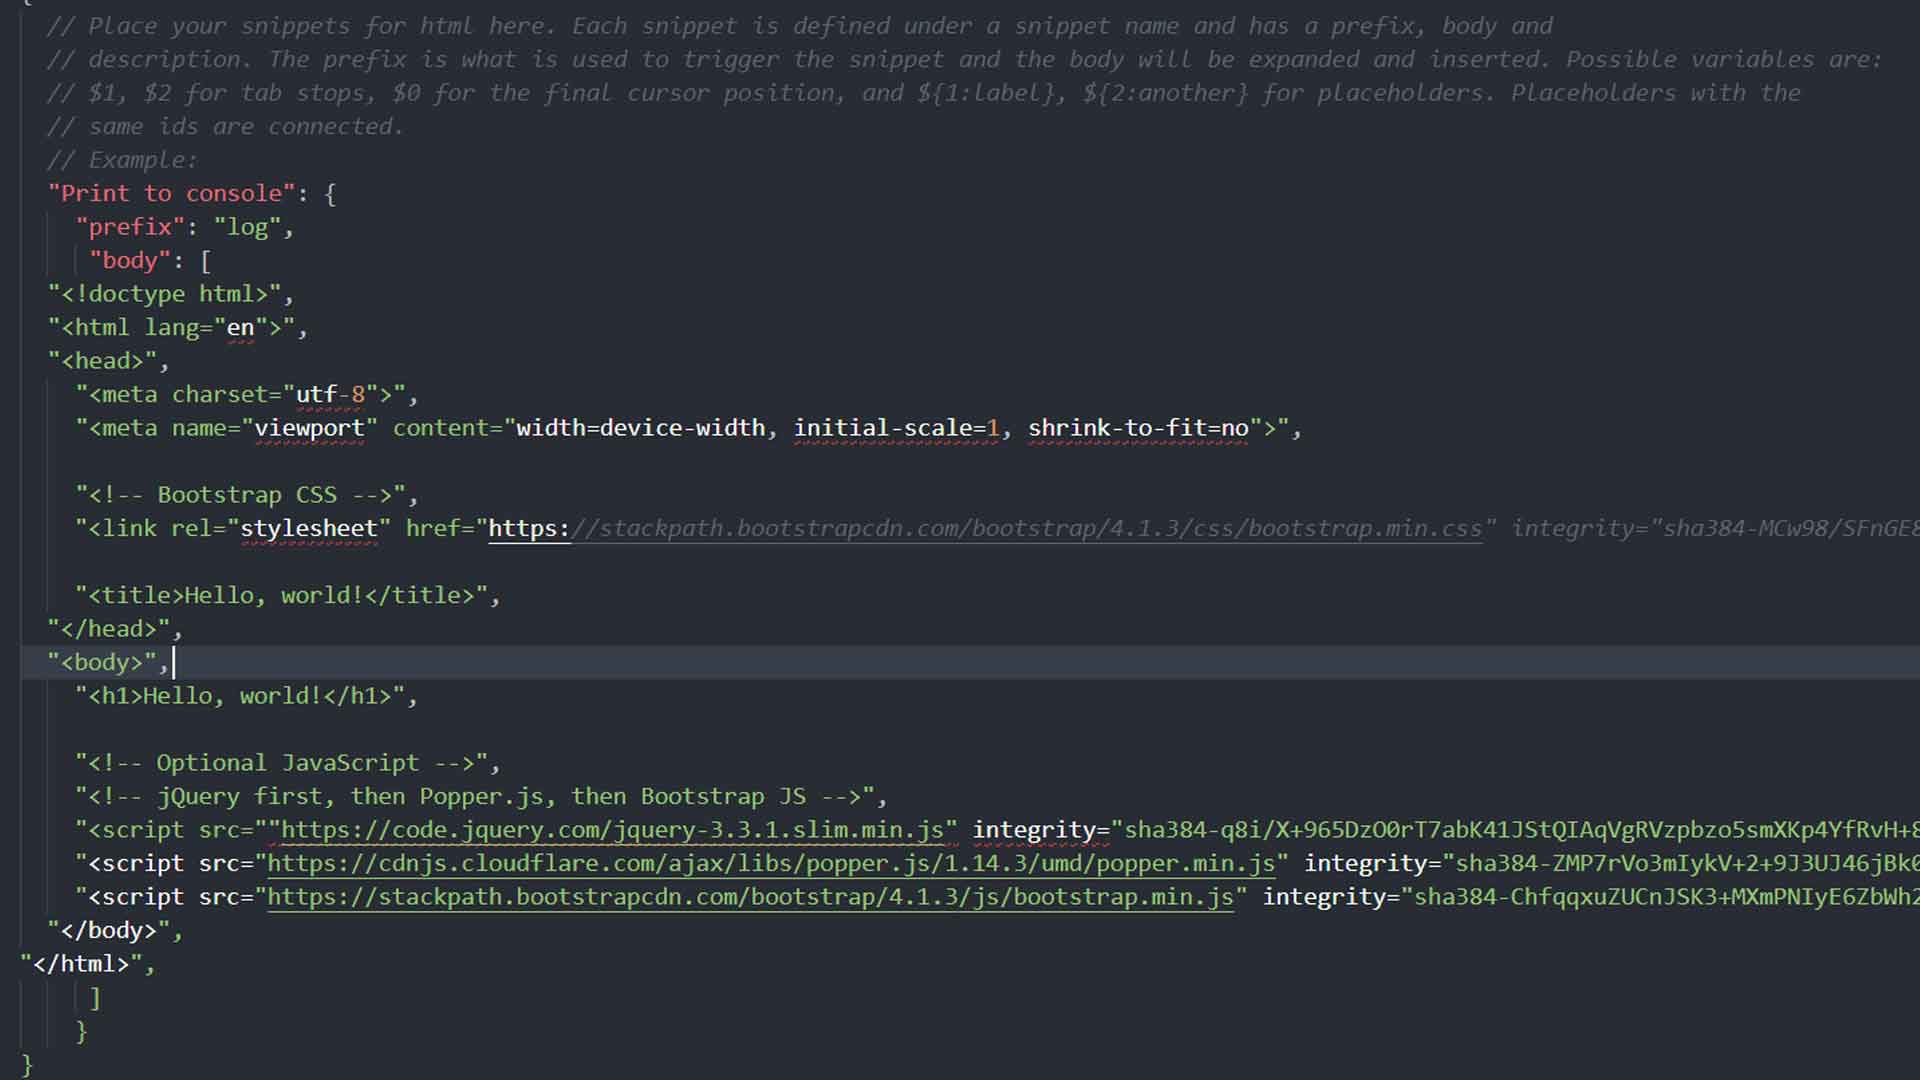
This step is all about creating the HTML page. You can simply use different HTML page builders, including Komposer, Amaya, and Adobe Dreamweaver, etc. Among them, Adobe Dreamweaver is the most suggested one. You need to build a fresh file here and then save it in the main folder that you have created names after your site name. Then, you need to section the codes using HTML5 following the below instructions.
- The top part of the page is Header, and you need to start sectioning from it.
- The next one is Hero, and it is the biggest section on the page. This section will signify a particular image on your page.
- Slideshow is the third section to code, and it will display the list of images and automatically side across the page.
- Next, it is your main content. This text area will contain data, including the texts, images, buttons, etc.
- Lastly, it is the footer. It signifies the bottom part of the page that will contain the Blog links, contact, other social media links
Step 4: Generate Style Files

Next, to create the HTML code, you need to create the style files for your page. You need to put the files to CSS, and it is like a mandatory task. However, you can create the style files using a framework. Bootstrap is the most suggested one for that. You can even shape it later on if you wish.
You can also generate the style files using an HTML editor. Remember to save the files as style.css in the CSS folder. It will help you find them easily. However, in the style sheet, you will find some stylistic features like margins, font size, type, image position, background color, fieldset, etc.
You can eventually customize them from here as well. Now, you need to connect the CSS style sheet to the HTML page.
Step 5: Web Design Set Arrangement

You are nearly to be the end of the process. Well, this time, you need to generate a web design set. You can create the set just by keeping together all the elements. Once again, you will need a code editor, and you can use Adobe Dreamweaver for sure. As you can use this editor in both creating the HTML code and web design set, it will always suggest the best code editor.
Now, you can get a strong foundation with a quick layout of HTML and CSS. As soon as you get the foundation, you will find the images and the background color to be set with the main elements. Make sure that the main elements are in a secure position.
Step 6: Java Script Interaction

It’s time to handle the JavaScript and allow its interaction. Once you are done with the HTML and CSS, you have to take JavaScript into account. It will help by forming jQuery and other related frameworks. You will need these frameworks as well for different functions.
The jQuery will organize the DOM and help to create dynamic layouts. It will help to code the front-end as well. Besides, react.js and vue.js are equally essential as they ensure easy hooking of HTML elements with JavaScript functions and data. AngulaJS is another essential framework that lets you use MVC styles and also set data without the layouts of HTML.
Step 7: Final Touch to Make It Responsive

Lastly, it would be best if you use a few frameworks to make the file responsive. You can simply use Twitter BootStrap, Foundation, Fluid Baseline Grid, etc, for that. To add extra responsive features to the design, you can also use CSS media queries.
So, these are the easiest steps you can follow for the simple PSD to HTML5 conversion. Make sure not to skip a single step and follow them one after another. Still, if you find it difficult, you can simply hire a professional service provider. Then you must be thinking about how it will cost for the whole process, right? The next section will clarify this part too. So, don’t skip it.
How Much Will It Cost to Convert PSD to HTML?
The complete cost for the process of PSD to responsive HTML is not particularly be fixed. It’s because there are different factors the cost depends on. And different service providers have different charges in different places. The key factors can also determine the cost with an estimation.
The cost of the process basically depends on the number of pages you have on your site. The nature of your website is another fact on what they will fix the charge. The turnaround time and the level of complexity will also matter in this case. If you get an offer or discount code, it must reduce the price for sure.
FAQs
Q: Can I convert Bootstrap PSD to HTML?
A: Yes, you can easily convert Bootstrap to HTML easily. For that, you need to analyze the PSD file and then create the directories. After that, you have to convert PSD to CSS code and HTML to add Bootstrap components. That’s how it is easy to convert Bootstrap to HTML. It is eventually very necessary to make the HTML responsive.
Q: When I shouldn’t convert PSD to HTML?
A: You shouldn’t make the conversion always. It has some drawbacks, and there are particular situations when you should avoid it. Firstly, you shouldn’t try this when you are using a mockup service or a plugin. It’s because you may have to fic the code that’s not efficient and clean.
Eventually, the code often comes out to be so horrible when you will use a PSD to HTML generator. And for that, your site can ve fired as well. So, think twice if you actually need the conversation and try to hire a professional for the code generator task.
Q: Why PSD to HTML conversion is harder recently?
A: PSD to HTML conversion is indeed relatively harder nowadays than a few years ago. It’s because all the PSD files are now quite responsive while being compatible with cross-device and cross-browser. And slicing them and handling other tasks becomes tough than that of a few years back.
To Conclude
Hopefully, you have understood all the steps to convert PSD to responsive HTML. It is also true that most of you are already confused about some technical terms mentioned above. You can simply Google them out or ask in the comment section.
We love to hear from you and also wait for your feedback. Thank you for your support and time.


