Streaming video games now have great popularity and is a big source of earning money for the streamer. To keep a place in the era of competition, streamers have to make their video attractive and impressive. Adding an extra effect and creating animated twitch overlays for the video can be a great idea.
In recent times, streaming videos of people playing different games have an unbelievable vibe. People of almost all ages who love video games used to enjoy watching people playing video games to enjoy their free time. And the streamers, on the other side, earn a lot by streaming videos and having many viewers. So, the fact of animated twitch overlay is essential to keep their place in the competition.
And so, today, we will learn almost everything about how to make animated twitch overlays on your own. In the beginner, we would like to inform you that the process is unbelievably easy and it takes not more than half an hour at all. Well, first, learn about the basics of animated twitch overlay and then head towards the animated stream overlay tutorial.
What is the Animated Twitch Overlay?

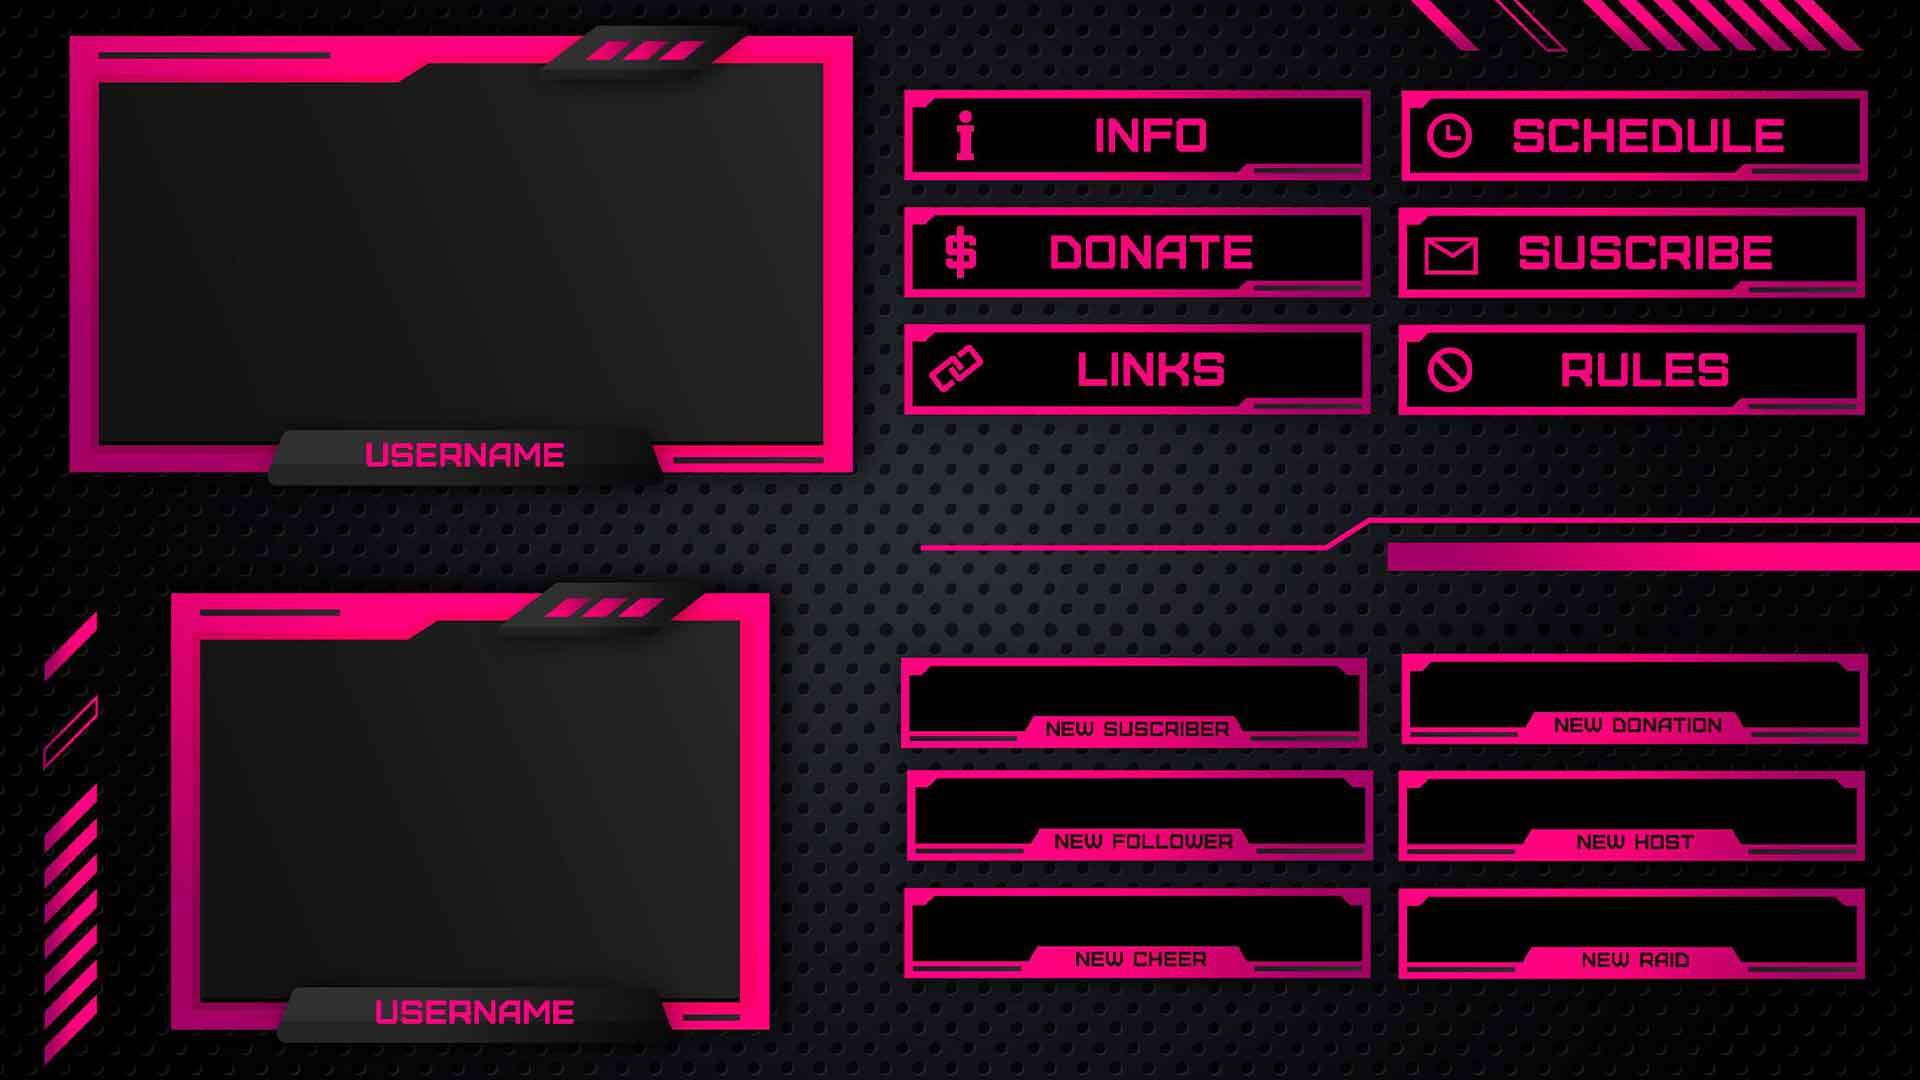
Basically, the twitch overlay is the kind of graphics or animation that most of the professional streamers use on the main content, mostly the video games. And this overlay design is displayed when they broadcast it live. So it is kind of an ornament that makes their streaming video content unique and notable.
This animated overlay is also known as Stream Overlays or Stream Templates. They are the kind of graphics, mostly come in either JPG or PNG file format. Also, you can get them as animations with GIF or WEBM format. Generally, streamers add the overlays via different streaming software. Most often, they use OBS that means Open Broadcaster Software, XSpliy, or Streamlabs OBS.
You can either buy a different animated twitch overlay or just make it on your own following the easiest twitch stream overlay tutorial. We always prefer making it on yourself as it will allow you to showcase your personality. Additionally, you have to pay a lot to buy the overly from third-party designers.
Benefits of Using Animated Twitch Overlays
There is no doubt that you are already aware of the popularity of streaming nowadays. Online games like PUBG and FreeFire rule the world of streaming, and the number of their streamers must cross a few thousand. Even school-going boys also stream their gaming time and earn a lot. So, you must understand that the competition is very high in this case.
If you are planning to stream video out of your interest to earn some bucks, you must be started as a pro. There are many online game streamers who never even earn a penny. Most of them have no professionalism, and they do it just for fun. If things are going like this for you, you are making animated overlays in Photoshop or any other software is a waste of time.
Once you think of streaming like a pro, you have to showcase your personality and aesthetics. You must want your streaming video to be authentic, unique, and easily remarkable. For that, you need to learn how to make animated twitch overlays to makeover your simple streaming video. The animation will provide an outstanding outlook on the video for sure.
You have already learned that the animated twitch overlay is like a design to decorate the streaming video. If you plan to create stream overlay on your own following the twitch stream overlay tutorial, you can easily showcase your taste in animation and make it your own branded video. Hopefully, you have understood why it is essential.
Things You Will Need to Create Animated Stream Overlays
You don’t particularly need so many things to create stream overlay on your own. It is for sure that you will need your PC to make it. You can either use a laptop or even a desktop. Eventually, the PC doesn’t need to be a very high-specification one. Just make sure that it can run the modern but simple software anyway.
However, you will also need a copy of some animation software to make the border design. You can simply use Adobe After Effects or Davinci Resolve. Here, Adobe After Effects is paid tool, and so you have to pay for it. But if you use Davinci Resolve, you don’t have to pay as it’s a free tool.
You will also need software to design your overlay itself. Adobe Photoshop is a perfect tool for it. And that is all you will need to create your custom animated twitch overlay.
Read More: How to Set up Stream Overlay: A Detailed Guideline
How to Make Animated Twitch Overlays
Once again, we would like to remind you that making your own animated twitch overlay is quite easy and simple. Actually, there are a lot of processes to make animated overlays in Photoshop or other tools. Eventually, we have tried a few processes too, and among all of them, we got one to be very much effective and easy.
So, here we plan to share the process with you all. To make the process easy to understand, we break down the whole process into several steps. It will make you follow the instructions sequentially and comfortably. So, make sure to follow the steps one after another, and we are sure you will make it successfully.
Step 1: Designing the Border
Your first task will be designing the border for the overlay. It is so freaking easy, and the came border gives a completely exceptional look to your video. However, to design the cam border, you have to use design software.
There is plenty of design-making software out there, and you can get a lot of free tools as well. Here, our recommendation is to try something minimalist and simple. You can simply try some color-changing animation at the bottom. To make the design, you can check the tutorial of the tool easily.
Step 2: Saving the Border Design
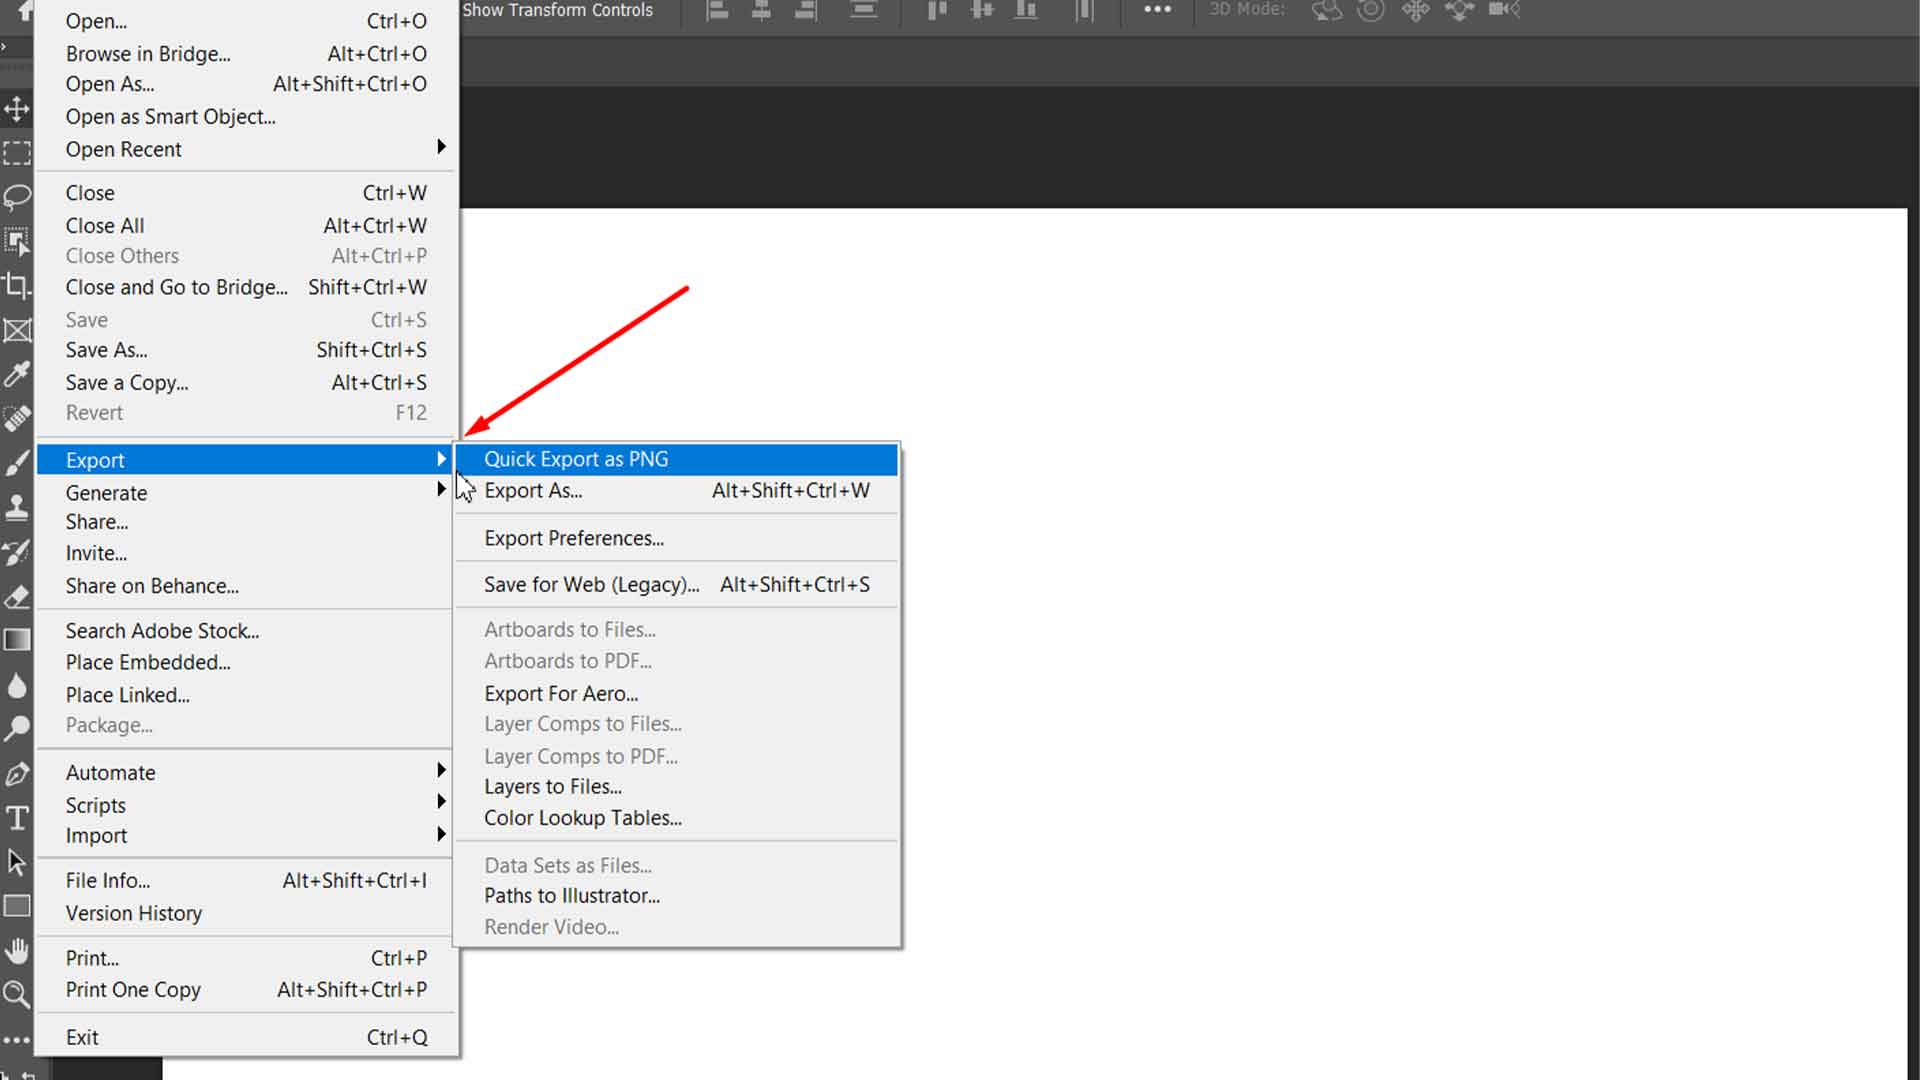
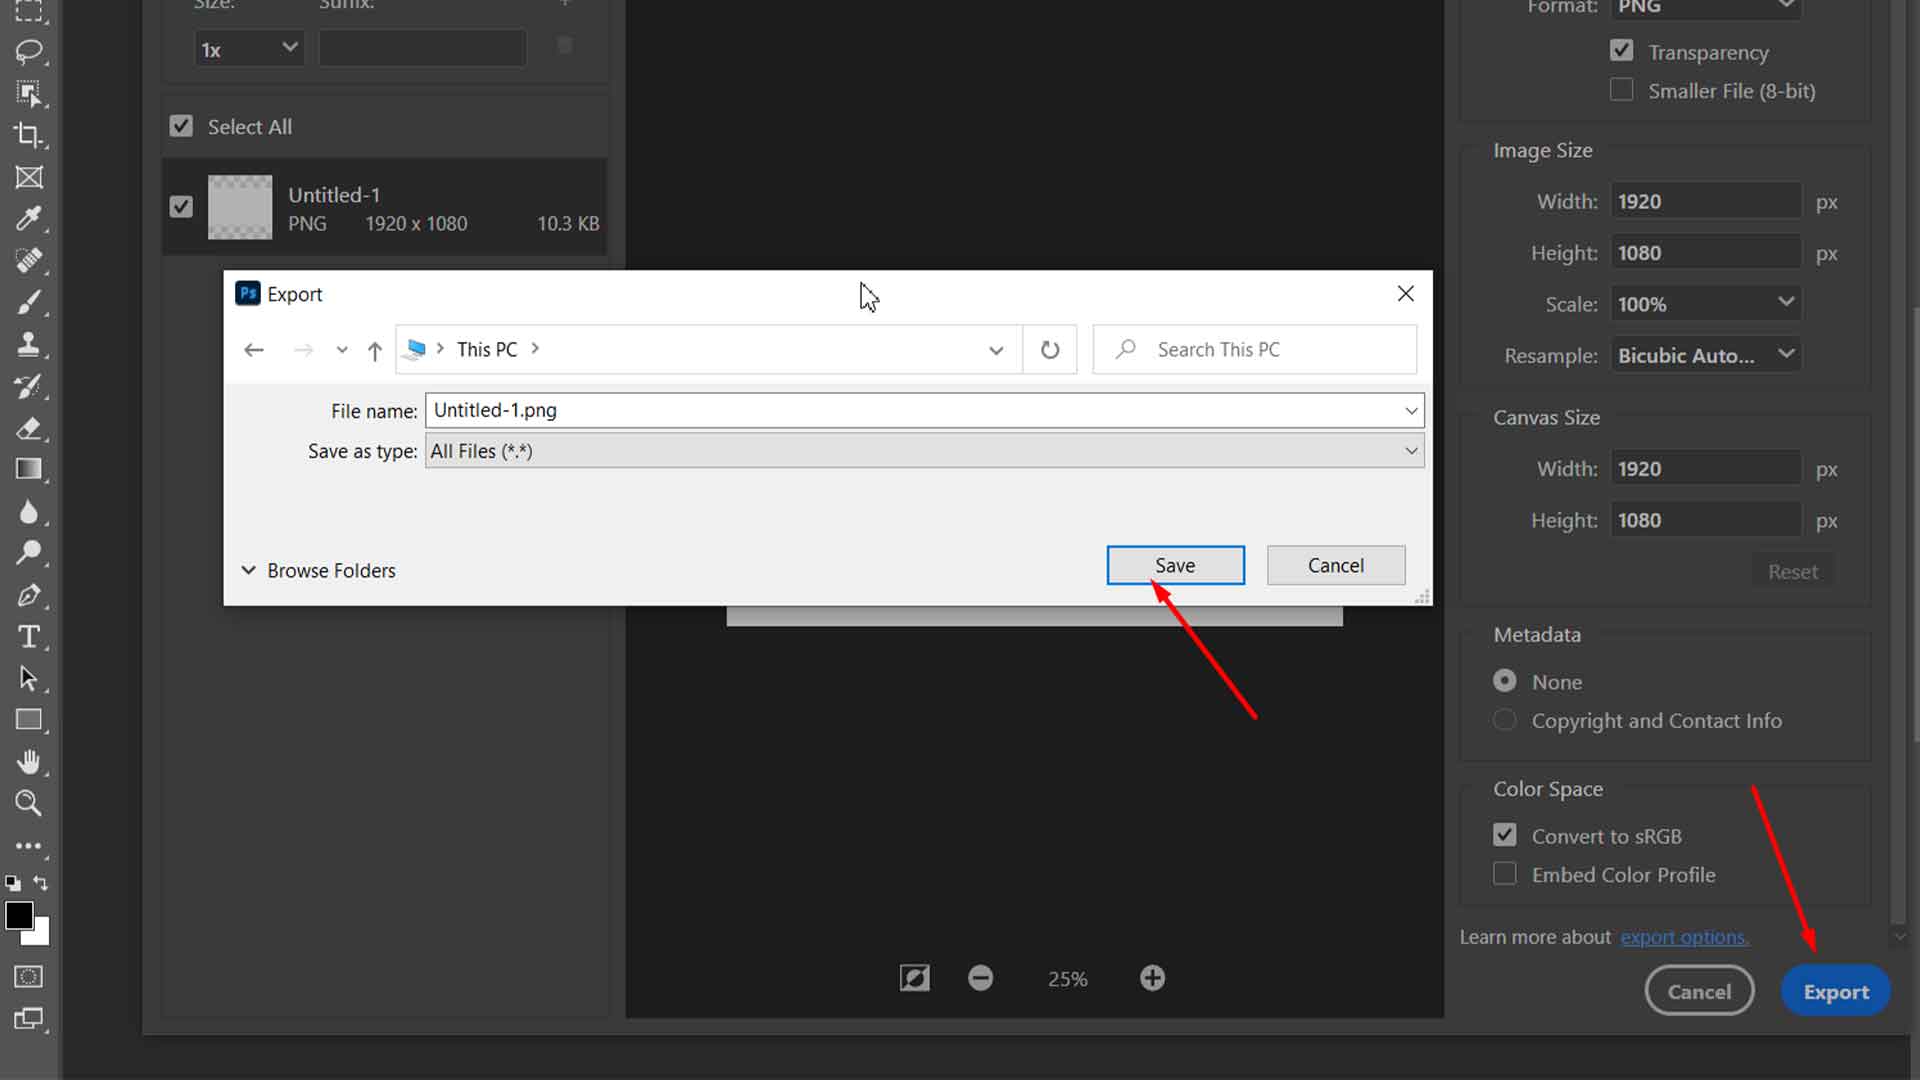
Once you make the border design, you have to save it safely. First, you have to save your handmade cam border as a transparent file simply. Also, make sure to save it in a memorable place so that you can find it later when to add it on the canvas. Also, you need to save it in the PNG file format as well.
Let’s keep the part of the border design aside, and let’s deal with the animation. For that, you can either use Resolve or After effect. We prefer using after effect as the process is much easier.
Step 3: Make Canvas Composition

It’s time to make a canvas for the overlay where you will set the border and make the other customizations. You just have to create a new composition. Simply, you can make it with the canvas.
Make sure to keep the size of 1920 wide x 1080 high in pixel. Then you need to change the time duration from about 0.0 seconds to 10.0 seconds. Finally, press the option, ‘continue’ to ensure setting the canvas.
Step 4: Set the Border on the Canvas
Once again, you need to deal with the border. Well, it is about setting it on the canvas. For that, you have to drag and drop the transparent PNG file of the cam border that you prepared a moment ago. However, after drawing the file, you need to drop it to the workspace at the bottom of the canvas.
Step 5: Adding Shape Layer
Now, you have to add a layer of shape to the composition to give it a final look. For that, you have to customize the size of the space that you left for the color-changing elements.
And then you need to change the color to one of your choices. Make sure to remember the color properly, as you will need to use it once again to complete the process.
Step 6: Color Correction
To make the color customization, you need to use the color-to-color effect. Just right-click on the shape layer. First, you must find a bar of options where you will find the effect in the middle part. Click it and find another bar containing the option, color correction. Click on it again, and there you will get color to color effect.
Now, you have to click the drop-down arrow that you will get on the effects section of the shape layer. Next, you need to set the color. Make sure the same color that you used before.
Step 7: Add the Keyframe
At this point, you need to add the keyframe to your composition. You have to add it to the color at exactly 0:00 seconds. You can do it just by moving the current-time indicator to the start of the composition.
Lastly, you have to click the stopwatch icon that you will find next to the required section. At this time, you have to set the color again and do not forget to set the same color you have used before. And then move the current-time indicator to 5.0 seconds and change the color as well.
Step 8: Select the Keyframe
Once you add the keyframe, you need to select the first one of them. For that, you have to move the current-time indicator from 5.0 to 10 seconds. You can also move it to the end of your composition as well.
Next, you have to select your first keyframe. You can simply do that by just clicking on it. And then, you need to press ‘ctrl + c’ to make a copy of the first keyframe and then press ‘Ctrl + V simply to paste it at the end of the composition.
Step 9: Adjusting the Shape Layer
Now, you have to adjust the shape layer to its appropriate place. Then, you just have to drag the shape layer to the bottom of the canvas composition. It will ensure the border will be over the top.
Step 10: Export the Composition

You need to check twitch to see if you have done all the customizations. It’s because you won’t get another opportunity to make any change after this step. If you have something to change, just finish it following the previous instruction.
Hopefully, you don’t have any. If yes, then it’s time to export the composition. For that, you need to click composition at the top of after effects and then click the add button to render queue.
In it, you have to click the part that says lossless. Now, select the option Quicktime as the composition file format, and then click on ‘RGB + Alpha’ as channels. Lastly, press ok to confirm the exportation.
Step 11: Save the Composition

This is the final step, and now, you have to save the composition file on your PC so that you can use it later on the overlay. For that, you need to click the name of your composition right next to the output.
And then, save the file to a safe place and make sure that you will remember the place when you add it on the overlay. Finally, once you click on the option render, You have successfully created your own animated twitch overlay.
FAQs
Q: How do I change animated overlays?
A: You can easily change the animates stream overlay on your own. For that, you need to open the Animation Properties pane first. Then you have to click the Overlays tab that you will get there. Next, you have to click the overlay so that you can edit in the Overlays list.
Once you get the place to edit the overlay list, you have to expand the position heading and choose a preset. Next, you have to click the Adjust Position option and then manually move the overlay in the view to a new location. Lastly, you have to click the on-screen And then close the button the make the change. That’s how you can change the animated stream overlay.
Q: What size should twitch overlays be?
A: 1920 x 1080 pixels is the ideal size for the twitch overlay.
Q: Why should I create a stream overlay instead of buying it?
A: There are specific reasons for what you should create an animated twitch overlay instead of buying it. First of all, making it on your own lets, you showcase your personality and choice of taste. You can eventually make your custom design on your own and display it to make your streaming video unique and different than others.
Most of the overlays for sale are similar and cannot be properly authentic. Additionally, it can charge a lot of money as well. On another side, it is easy to make animated overlays in Photoshop or on OBS if you know the tutorial properly. So, it is always better to create an animated twitch overlay on your own.
Q: Is it possible to stream without an animated twitch overlay?
A: Yes, it is, of course, possible to stream without an animated twitch overlay. But it is a hundred percent sure that the video won’t be a pro-level one. Most professional streamers have unique ways to showcase their stream video. And the twitch overlay is the best way to decorate it. So, without the animated twitch overlay, your stream video will be an average one.
Wrapping Up
Now, you must be aware of how beneficial it is to create a twitch overlay on your own. And also, you properly acknowledge how to make animated twitch overlays. Hopefully, you have now no confusion left about this matter, and you are properly ready to start your mission of making it properly.
So, we wish you the best of luck and thank you a thousand times for staying with us.

