WordPress is now more than just a website builder. And so, we need to use the website to maintain whether it’s your site or even content. Uploading your HTML file to WordPress is so, very essential to keep all your HTML content updated and also to get verification from the Google Search console. As we see thousands of advantages of using WordPress, many of us realize how it is important to upload a Google HTML file to WordPress. But most of us don’t actually know how to do it properly. And so, we are here today to help you learn exactly how to upload HTML verification file to WordPress.
Why do You need to Upload HTML Verification File to WordPress?
Before we go to the steps of uploading an HTML verification file to WordPress straightforwardly, we have something very important to learn. And all of them are completely related to the fact of uploading the files. The first thing is to learn why and when you need to upload the file. And next, it is all about the primary requirements of that.
So, let’s learn about the first one which is all about why and when you need to upload the HTML file to WordPress. Well, if you are using the HTML file for a website, you need to use WordPress for sure. It’s because you can’t think about your website without the help of WordPress in any way.
WordPress lets you create beautiful pages and use tons of inbuilt plugins to design your site. It also lets you use essential page builders like Elementor. As for the wide popularity of WordPress, it is now completely needless to describe the necessities of WordPress. So, now it is clear that WordPress is essential and that’s why you need to upload the HTML file to it.
You can simply convert your existing HTML page into WordPress by uploading the file to it. You also need to upload the file for a few reasons that are as follows.
-
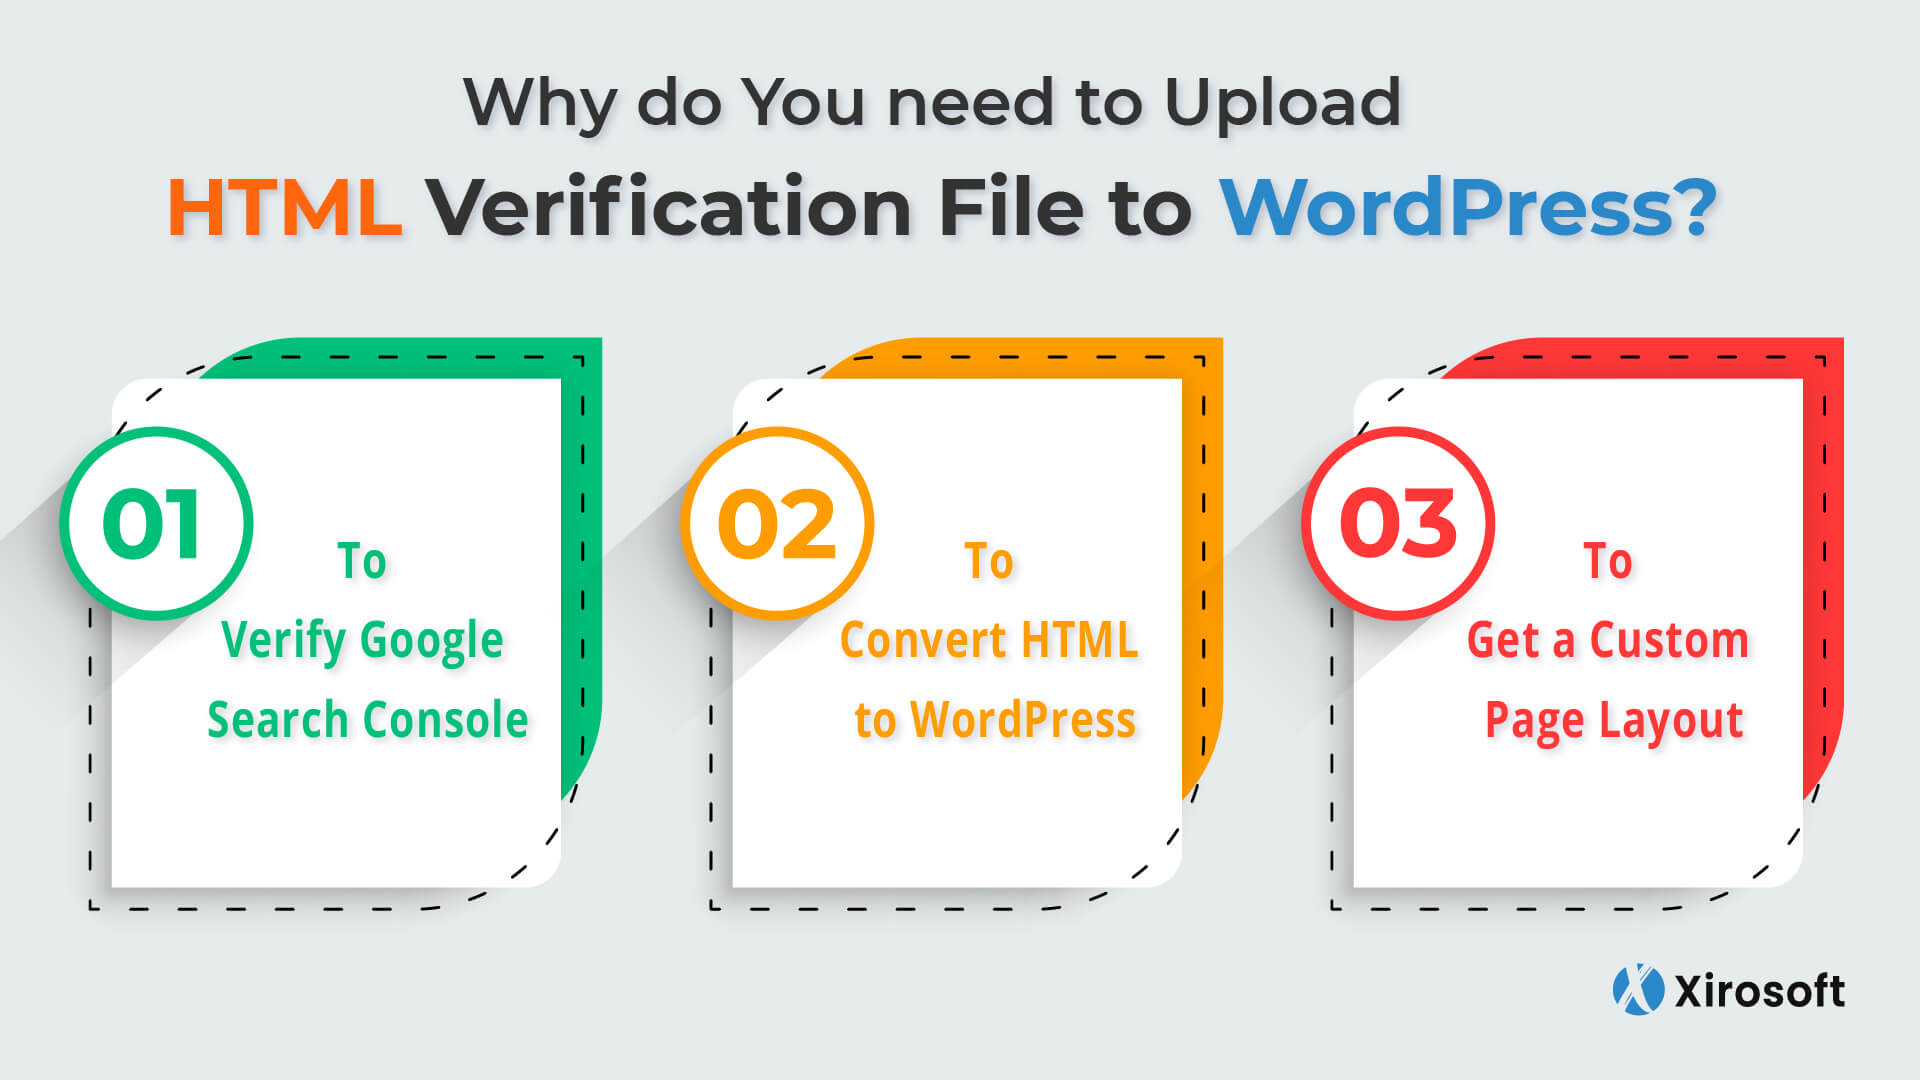
To Verify Google Search Console
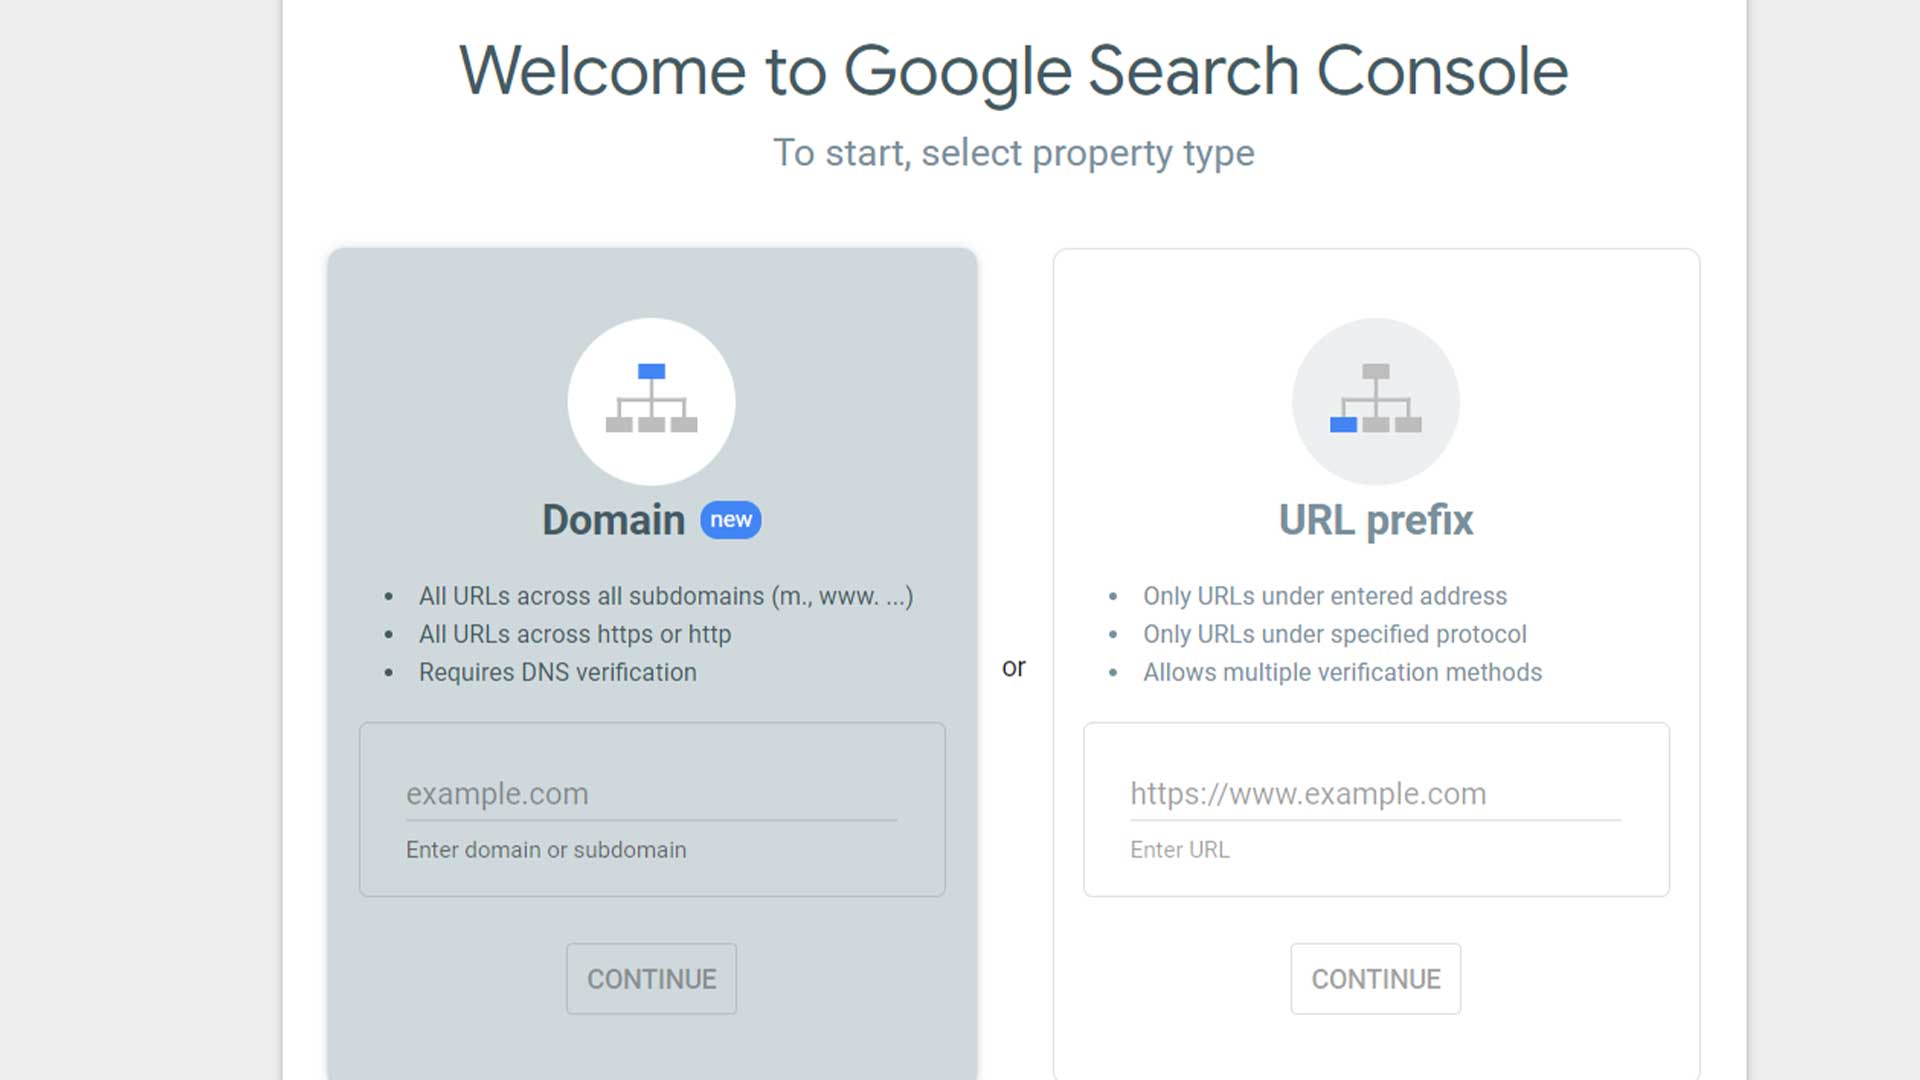
Having verification by the Google Search console is another basic need for any site. You must be aware of its importance. However, it is true that you can follow different ways to verify your site by google search console. But no other way is as simple and effective as uploading the HTML file of your site to WordPress.
Basically, WordPress has its own relationship with Google and so, getting the verification with WordPress is comparatively easier. That’s the reason, uploading the HTML file to WordPress is the most suggested way to verify your page to the google search console.
-
To Convert HTML to WordPress
For the old website users, this reason is particularly valued. Basically, those who have a website before the birth of WordPress must have one with HTML. And now, WordPress has come with unlimited advantages. So, convert HTML to WordPress becomes a necessity.
To convert your HTML site to WordPress, you also need to upload the file to it. It is a basic requirement of the conversion. And certainly, you cannot make the conversion without uploading the file. That’s why it is essential for the old HTML website owners who want to convert their sites.
-
To Get a Custom Page Layout
Lastly, you will need to upload the HTML file to WordPress so that you can get a custom page layout. Often you cannot use different themes on WordPress just because the page layout doesn’t match the file. In this case, your uploaded HTML file will come as a help.
When you have the uploaded HTML file ready, you can use it to get the theme on its Custom layout. The file will certainly let you use the theme by making the layout supported to it. So, for the Websites owner who needs to keep their site updated, it is another basic need.
Prerequisites to Upload HTML Verification File to WordPress
Well, you have already learned about why and when you will need to upload the verification files of your HTML site to WordPress. Now, you need to learn exactly what you need before you are planning to upload the HTML file to WordPress.
Thanks to WordPress, it doesn’t actually require so many things to let you submit the file. You must ensure that you have the appropriate file and then you need to accomplish two easy tasks. Check out the following tasks to meet all the prerequisites for uploading the HTML file to WordPress.
-
Ensure a Site Backup
Before making any change it is a very important fact to keep a site backup as security. You must know that anything wrong can happen anytime when you make any change. So, you need to ensure that, you can get back the previous version without anything missing.
You only need a minute to keep a backup of your site. For that, you have to install Blogvault first. Make sure to install it on the WP-admin dashboard. Then sign up by adding your email address and wait for a minute. It will make a backup automatically. You will also get a restore button that you can click to have a backup as well.
-
Having A Staging site
Lastly, you need to ensure a staging environment for the site. Basically, a staging site is a kind of replica of your main website. And here, you can test make any experiment. This stage is essential to use the process as a test and check if everything is all right.
Whatever change you have made, nothing will affect your website anyway. So, whether you are following the process appropriately or not, if you are doing it on the staging site, your main site will be okay. And we always suggest not to use your main site for any experiment.
You can again use Blogvault to create a staging site as well. After signing up on the Blogvault, you can check the staging site option on the dashboard to get a staging site from it. And the process is easy and it only takes a few minutes only.
Read More: How to Upload HTML Verification File to Shopify
3 Easy Ways to Upload HTML Verification File to WordPress
Generally, there are three different ways to upload the HTML file to WordPress. Among all of them, uploading it directly from WordPress is the most suggested one. You can also try other ways for that as well.
Uploading HTML Verification File From WordPress
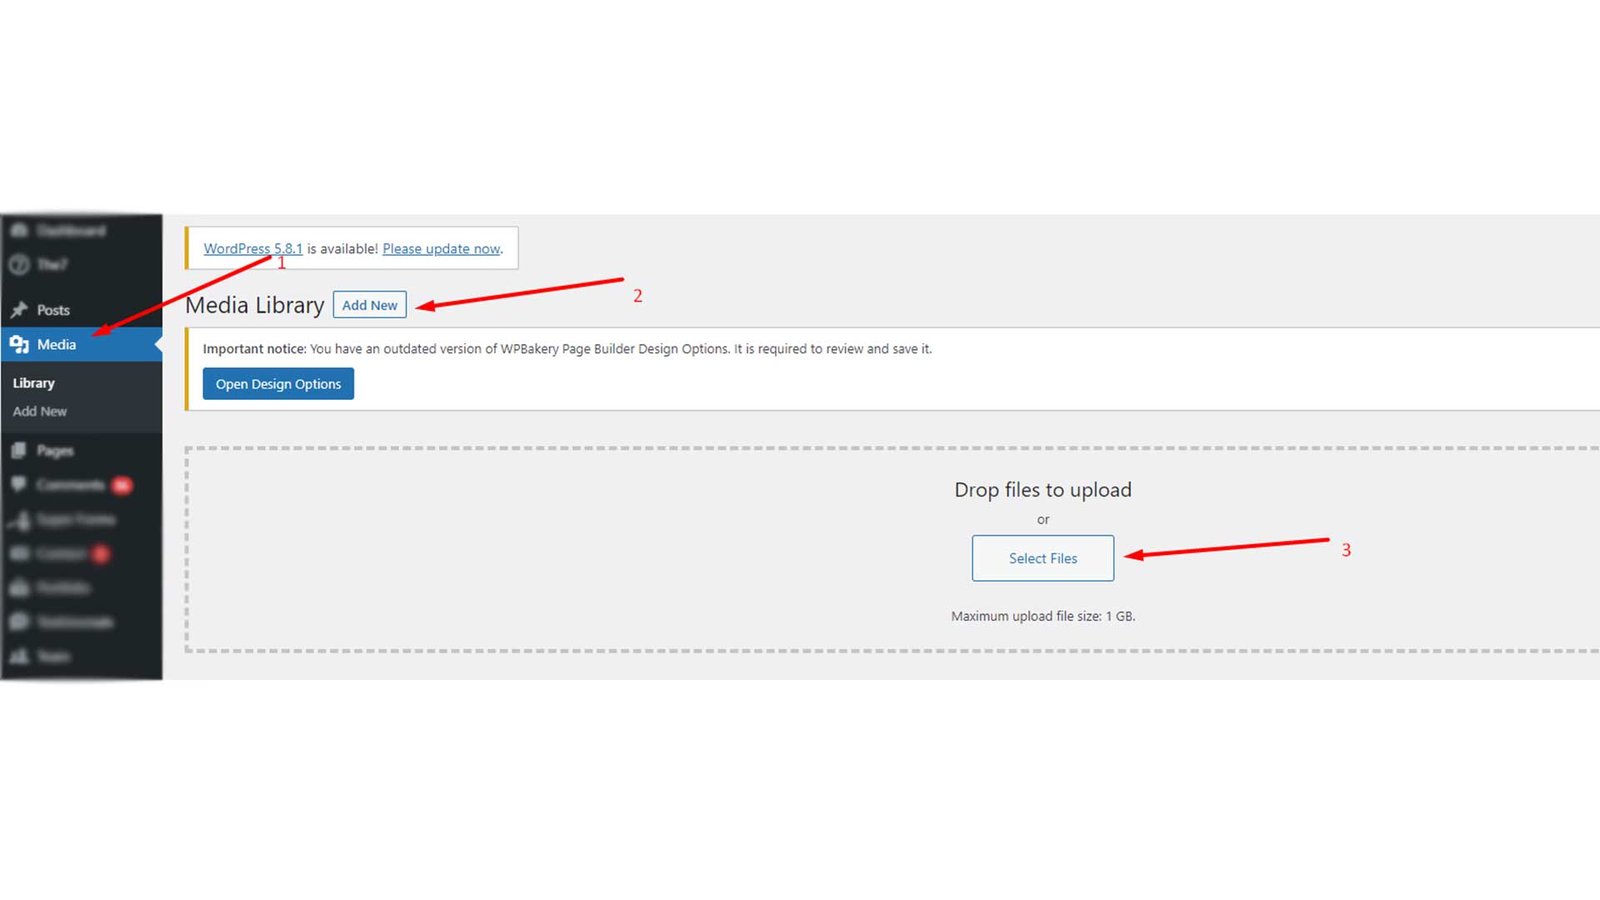 You can use WordPress itself to upload the file directly. This way is easy to follow and the risk to be failed is comparatively lower in this case. You need to follow the below steps one after another to use WordPress for this task.
- First log into the WordPress and then dashboard. Here, on the right panel, you will get an option, media. Click it and tap on the ‘add new’ option.
- Now, you will get an option to upload a file. So, select the HTML file from your PC. Now, you will get an error saying failed upload. And you have two ways to fix these errors.
- You can simply use Gutenberg to solve it. For that, you have to go back to the dashboard and the media to visit the ‘add new’ option once again.
- You must find a + option there. Block and patterns are two specific options you will face there. Select blocks and find the option called files.
- After clicking on the files option, you will get a panel. Click on the three-dot option on the right side of the panel.
- You will now get a few options. Among then click on Code Editor. There must be a complete transformation and now you can upload the file successfully use Gutenberg.
This is how easier to upload the HTML file to WordPress. If you don’t like it this way, you have two more ways left. Let’s check them out.
Uploading HTML Verification File Using FTP
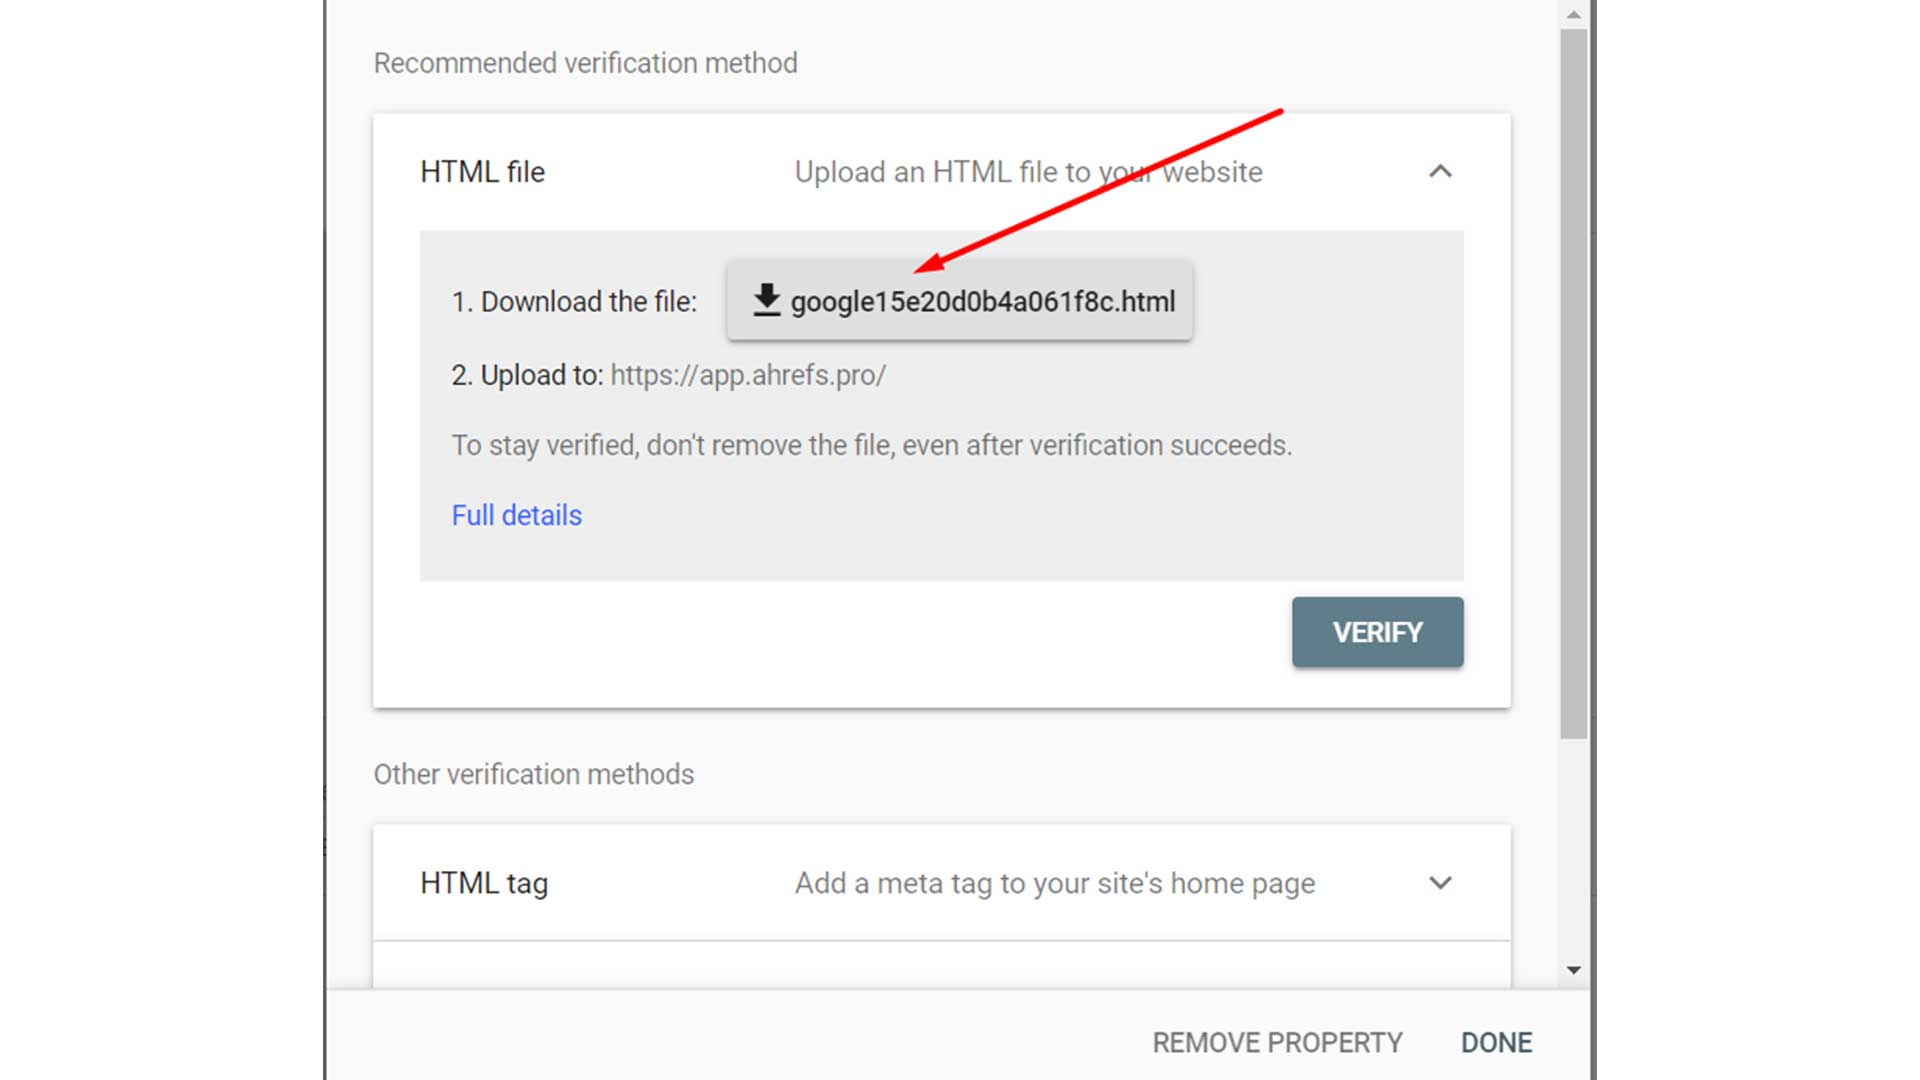
WordPress generally doesn’t accept files of any format. Files with formats like SWF, EXE, and etc are officially banned here. FTP is the most accepted format for WordPress. So, you can simply use the FTP formatting style to upload the HTML verification file to WordPress. For that use the following steps.
- First install Filezilla and sign in.
- You need to fill in some credentials like hostname, username, password, etc.
- Next, tap on the button called QucikConnect.
- Once you tap the button, Filezilla will automatically make a connection with your server.
- Here, you will find a left-hand panel that is called Local site. This is basically your computer and a right-hand panel you will find there is called Remote site, meaning your website.
- Now, you need to open the folder, public_html in the right-hand panel. Here, the file and format of your website are kept. You can simply name your folder and select it to get easier.
- You can now create a folder for the HTML file. Just right-click there and get the Create directory and enter it. Click on it.
- In the left-hand panel, you will get the HTML files that you particularly want to upload. Make sure to right-click and select Upload.
Uploading HTML Verification File Using cPanel
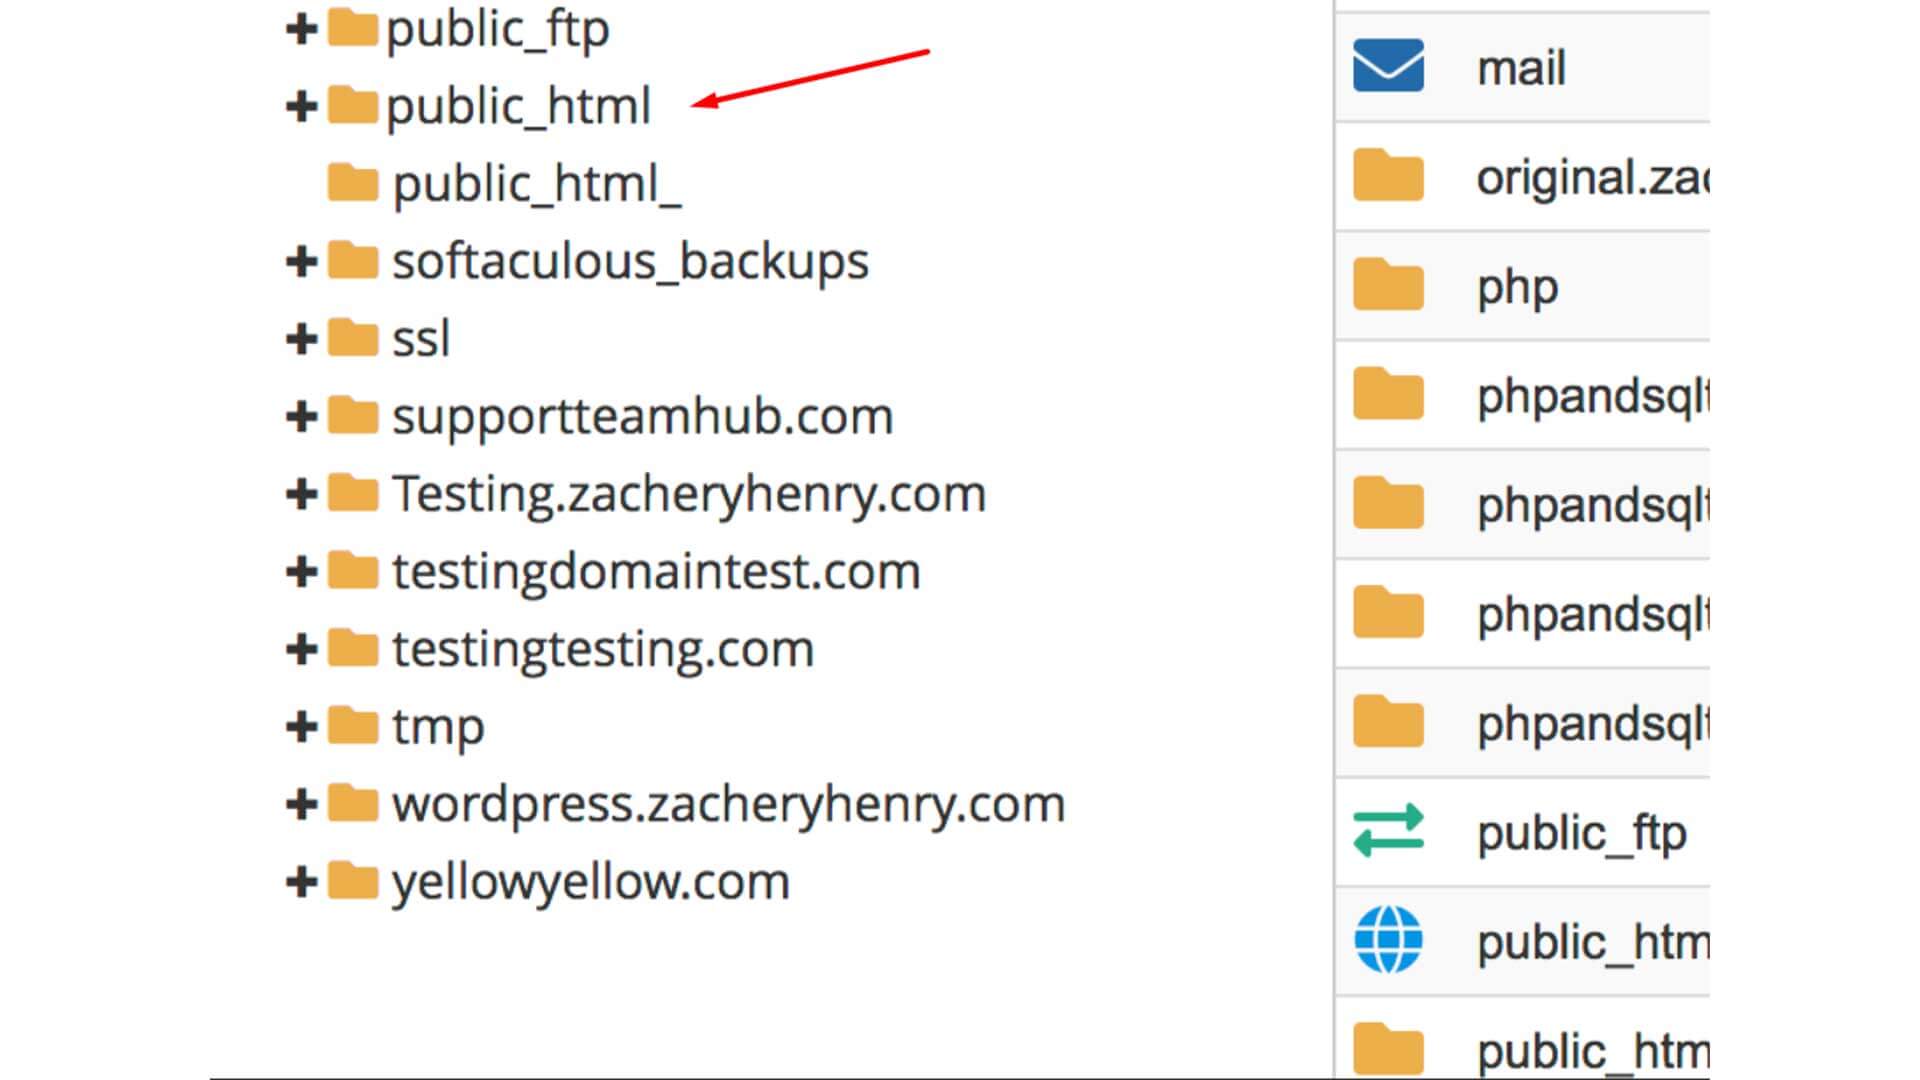
Finally, you can try the 3rd option which is easier as well. And this time, you have to upload the file using cPanel. Just check the below steps and successfully upload the HTML file to WordPress.
- First, you need to log into the web host account and then click on the cPanel option.
- Now, you have to select the File Manager option. Then choose the folder, public_html and this folder will the one to contain other folders including wp-admin, wp-content, wp-includes.
- You have to create another folder here. For that, you have to click on the ‘+ Folder’ option. You will find it on the top bar menu.
- Next, name the folder.
- Finally, upload the zip file successfully here.
Resolving Errors You Can Find While Uploading HTML Verification File
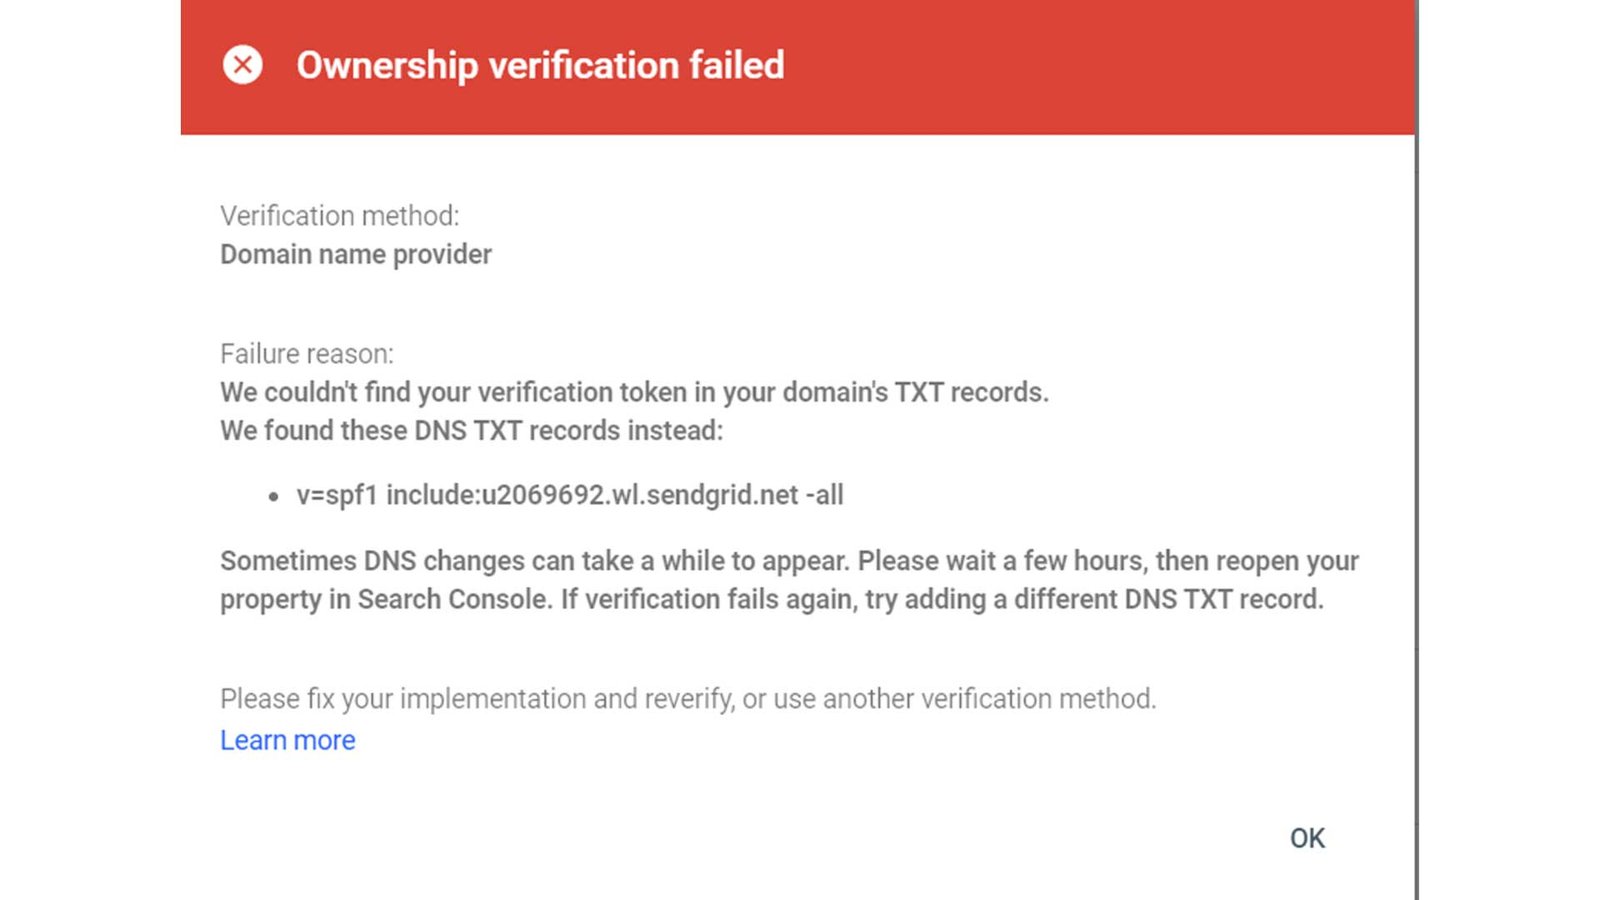 Often, many of us find an error while uploading the file on WordPress. And it says “Sorry, this file type is not permitted due to security reasons”. Basically, this thing happens because the format of the file is not acceptable in WordPress.
You can also get different error options in this case as well. Some of the common errors are as follows.
- “sorry, this file type is not permitted for security reasons”
- “sorry, this file type is not permitted for security reasons.SVG”
- “woocommerce sorry, this file type is not permitted for security reasons”
- “terminat.ttf sorry, this file type is not permitted for security reasons”
When you will get this kind of error, you need to follow different ways to fix it. For the security error, you will have two different ways to fix it. One is a secure and permanent fix which we mostly suggested. The next one is a high-risk fix.
For the error caused by the formatting issue, you need to follow other processes. Generally, formats like SWF, EXE, etc are banned. You need to get the FTP format of the file. You can use Filezilla to get the FTP format of your file.
Generally, fixing the errors is not very much complicated and it is not sure if you are going to get the error. So, make sure to try uploading the file on the staging site to make that nothing will happen even if you are not doing it properly. The rest will be fine if you follow the steps mentioned above.
To Conclude
Here, we come to the end of our today’s discussion about how to upload an HTML file to WordPress in multiple ways. Hopefully, you have understood when, why, and how to do that. And also what you should do when to get an error. Still, if you have any issues left regarding the HTML file uploading, you can knock us on the comment section.
Thank you once again for your time.
