Having HTML verification is probably one of the basics and the most important requirements to open a Shopify store. You will need to upload the HTML file when rooting the directory of your Shopify store for verification. But many of us don’t know how to upload HTML verification file to Shopify.
Basically, HTML stands for HyperText Markup language and it is essential to create any kind of web page as the standard markup language. So, for Shopify, it is a must-have. And today, we will deeply explore almost everything about uploading the HTML verification file to Shopify.
Why Verification of Your Shopify Store with HTML is essential?
You must be thinking that we are supposed to talk about the uploading process of HTML files to Shopify. But why do we start with the necessity of verification of Shopify, right? Well, if you are a beginner, you need to know that HTML is essential to verify your Shopify with Google.
While editing the theme code of your Shopify store, you need to add the HTML meta tag so that the Google search console can verify your Shopify store. And when you will have the verification in the Google Search console, your shop will have more visibility and so, more clients.
Apparently, the verification in the Google Search console is a kind of process that you have to provide Google so that it will be acknowledged about your own shop of the domain. It will then provide you access to the search data of Google. And then, the data you will get can be used in growing the traffic of your site.
So, the basic thing is to add the HTML meta tag to your Shopify theme to help Google verify your domain. For that, you can either upload the HTML file on the theme or just add a DNS record while registering for the domain. But uploading the HTML file is easier and the most suggested way.
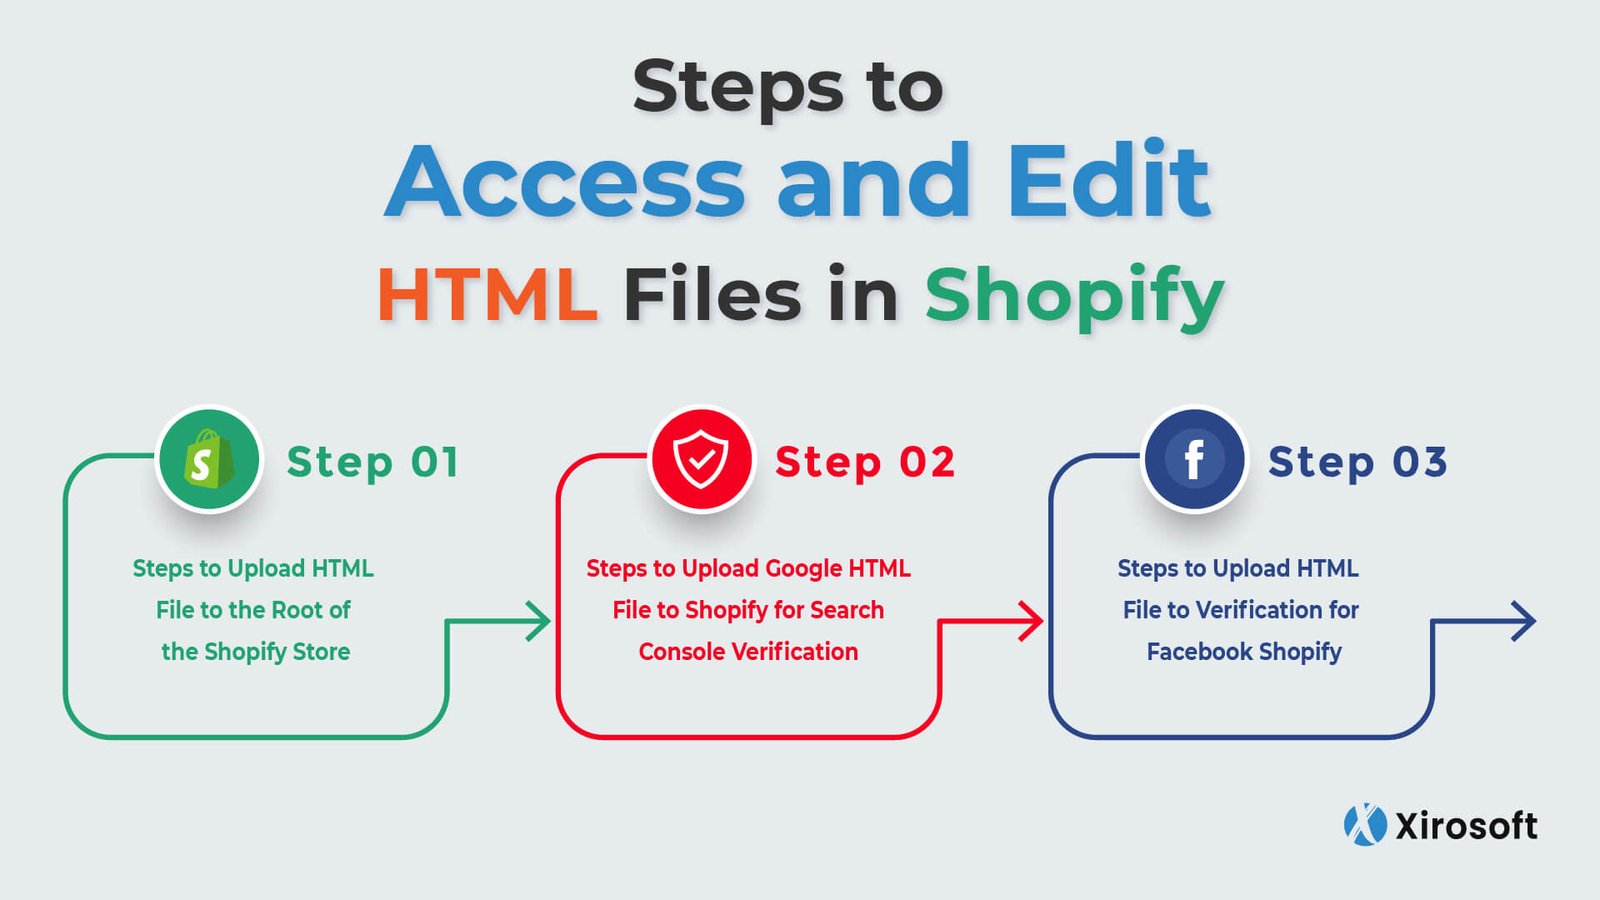
Steps to Access and Edit HTML Files in Shopify

Before you start learning the way to upload or add HTML files to the Shopify theme, you need to learn the way of editing the file in Shopify. It means the way, you will get the file, having the access to it, and finally, edit it to prepare it for uploading.
The process of editing and having access to the HTML file is not anything complicated. Some easy steps are enough to make it anyway. And here, I will briefly and simply demonstrate the way that is most effective and suggestive.
Basically, all the HTML files for any Shopify store are liquid files. You won’t get the actual files as it has to add in the theme only. However, you can simply access or edit the HTML file according to the type of your Shopify store. The following space on the theme will provide the files and you can choose the appropriate one for your store.
- You need to visit the theme. liquid where you can edit the header and footer of the file.
- To get the reusable code snippets, you have to visit the snippets. liquid section.
- You will find all the liquid files in the templates. And you have to find the exact files for different templates as well.
- Section. the liquid is another place where you can find the files that are basically used on all the pages including the homepage.
All the files here are editable and you can make any change you prefer. But you have to remember that these files are used on multiple pages. So, if you make a particular change for a specific page, the file for other pages will be changed automatically.
Steps to Upload Google HTML File to Shopify for Search Console Verification

It is needless to say that uploading the Google verification HTML file to Shopify for Google search console is easy and simple to understand. Eventually, you will realize it once you check out the basic 3 steps below. You need to go through three easy steps and each of them requires some tasks. Not skipping one word, check the details with proper concentration. You will easily understand the process.
Step 1: Getting the HTML Verification Meta Tag
The first and foremost step is to collect the meta tag that you will use to upload. For that, you will have to log into the Google Search Console account. If you don’t have an account, you can fill the requirements and open one by yourself.
On the homepage of the Google Search Console, you will find an option calling Verify Ownership. There will be two options to verify your site. The first one is the HTML file and the second one is the HTML tag. And you have to go through the HTML tag.
Basically, the first option, I mean the HTML file is there just as an alternative method section. And you can completely ignore it to avoid extra efforts. However, you have to check every word of the HTML tag option. Do you get a link beside a button to copy? You must find it right under point number 1 that will ask you to copy the meta tag.
So, click on the copy button and you will get the tag copied to the clipboard. Now, you are ready to add the tag to the Shopify theme to complete the second step.
Step 2: Adding the Meta Tag to the Shopify Theme
You can leave the Google Search console tab after you copy the tag from it. And now, you have to log into your Shopify account. On the homepage, you will get the Admin tab option. Click on it.
On the admin tab, you will get the online store option right in the middle part of the left side option bar. Click on the offline store and the first option you will get will be the Themes. Open it.
Make sure that you have chosen the current theme id your Shopify store. On the right side of the upper part, you will find a button called Action. Click it and select the Edit code option.
There, you will find the Layout section. The Layout section will initially have different options about liquid elements. You have to choose the theme. liquid file. Now, select this file to open the code editor. If you fail to find this part, just use the search bar and type the theme. liquid.
On this page, you will get an option <head> and paste the tag under it. Check twice that you have pasted the complete tag that you got on the Google Search console. Now, save it. The tag is added successfully.
Step 3: Verifying the Visibility of the Tag
Now, it’s about verifying that Google has been recognizing the HTML tag of your Shopify store properly. And it’s the last step for this task. Well, you have to log into the Google Search console account once again.
Here, you have to wait for a few minutes to complete the verification. You will find all the collected data about your domain on this page after the verification. And it will verify automatically after you have done the second step completely.
So, this is how easy adding the meta tag of HTML to your Shopify store for verification of the Google search console. But there are two more places where you need to upload the file as well. If you want to learn about that, just follow the next two sectors as well.
Steps to Upload HTML File to the Root of the Shopify Store

Another essential use of the HTML file is to root the directory of your Shopify store for different third-party site access. All of the third-party sites will ask you to make sure that you are the legal owner of the Shopify store. You can call it a security issue.
So, you have to ensure strong password protection for your site. Besides, if you still have not verified your site, you need to disable the password, and when you will have the verification, you can activate the password again.
However, to upload the HTML code to your Shopify store for domain verification, you can follow the below steps.
- Enter into the third-party panel and choose the option that will verify the use of the meta tag method verification.
- The meta tag you will find here is the one you have to copy. Make sure to copy the complete tag to your clipboard.
- Now, log into the Shopify app and find the store option. Here, you will get the select channel option. Click it.
- You will get the Online store and just under it, there will be the manage themes section. Choose the theme that you want to edit. And get the edit code in the option called Action.
- Once again type theme. liquid on the search bar and open it in the code editor. Here, you can paste the meta tag and verified
Lastly, press the save button. And now, the HTML code is uploaded to the Shopify store for domain verification.
Steps to Upload HTML File to Verification for Facebook Shopify

Among all the third-party sites, Facebook is the most important one to add the HTML code and verify your Shopify store. And the following steps will show you how to upload HTML files for the Shopify verification to Facebook.
- First, you have to choose the appropriate meta tag verification method. For that, you have to log into the Facebook Business Manager. Find the Business Setting and then Brand Safety. Once you click on it, open the Domain option where you can add the URL. This is the URL you have to verify.
- Here, you will get another meta tag that you have to copy completely.
- Again, log into the Shopify admin panel and find the Online Store section. You will find Themes right here. Open it and adjust the Action and Edit the code.
- In the Edit code option, you will find the Layout section. There, you will get the themes. liquid. Open it in the online code editor and find the <header> option.
- Right under the option, you have to paste the complete meta tag. Finally, save it to verify the HTML tag.
So, this is how easy to upload the HTML file to verify Shopify to Facebook. And since the file or tag is verified, your Facebook Marketing will get more engagement and traffic.
To Conclude
So, this is how easy it is to upload an HTML verification file to Shopify. And once the HTML file is verified, you will get more traffic and so, more customers. Additionally, you will get access to the search data of Google that will allow you to find keywords and their ranking and optimization process. So, here, we take our leave for today and will soon come with something new.


